CoTester 2.0 is LIVE! Your Always-Available AI Teammate for Testing.
- What Is the Mobile App Development Lifecycle?
- The 8 Stages of Mobile App Development
- What Are the Types of Mobile Apps You Can Build?
- How to Develop a Mobile App with Waterfall vs Agile Methodologies
- What Can Go Wrong in Application Development for Mobile Devices: The Challenges
- How to Use This Lifecycle to Build Your Next App
- Test Your Mobile Apps End to End before Deployment with TestGrid
- FAQs
How much work goes into taking a mobile app from idea to a release users can actually rely on?
The answer matters in a market where expectations keep rising. Sensor Tower’s State of Mobile 2026 report found that consumers spent 5.3 trillion hours across iOS and Google Play apps in 2025, while global app downloads reached nearly 150 billion.
At that scale, weak decisions early in development can come up later as usability problems, compatibility failures, security gaps, or expensive rework. The mobile app development lifecycle gives you a structured way to manage those risks from the start.
This guide breaks down the process stage by stage, including the teams involved, expected outputs, essential checks, and common mistakes that can derail an app pre/post launch.
Test mobile apps across real devices with TestGrid. Request a free trial.
What Is the Mobile App Development Lifecycle?
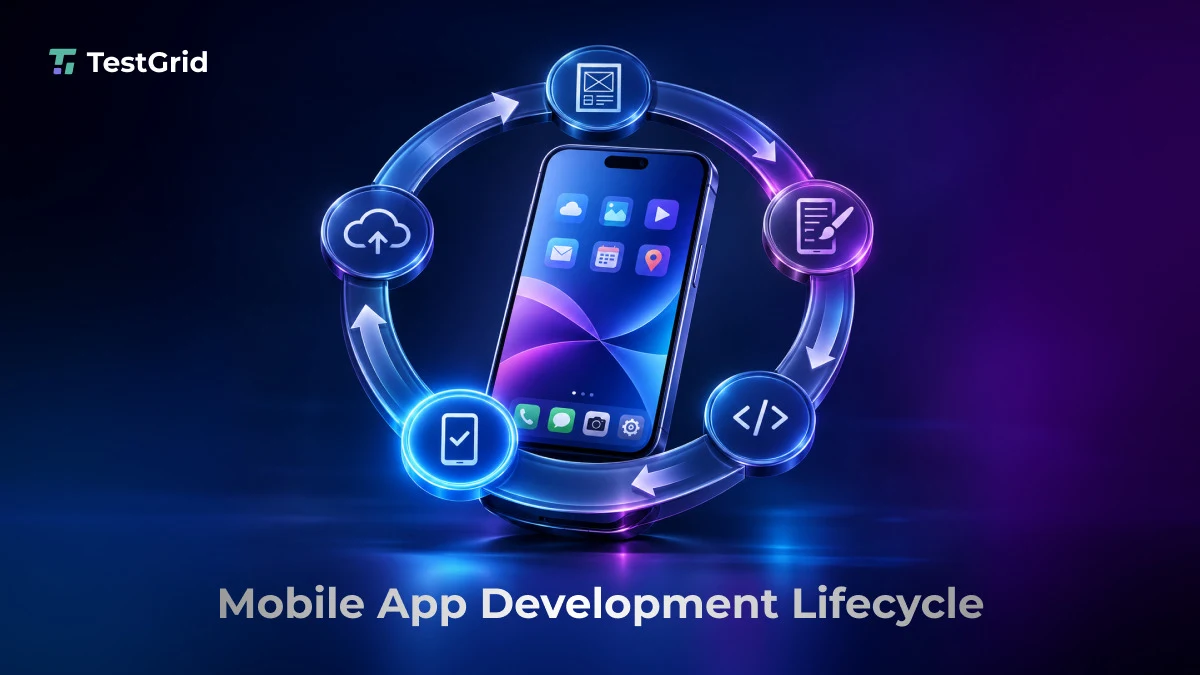
The mobile app development lifecycle is the sequence of stages an app moves through from initial ideation and planning to development, testing, release, and ongoing maintenance.
Each stage includes activities like defining user needs and project requirements, designing the interface and architecture, developing app features, and validating functionality, performance, security, and device compatibility.
The 8 Stages of Mobile App Development
The overall mobile app development lifecycle has specific tasks, deliverables, and potential challenges.
Here’s a breakdown of the different stages, including the team responsible for every stage, the expected outputs, essential checks, and common failures or mistakes you need to watch out for.
1. Ideation and planning
This is the first stage where you turn your idea into a defined project with clear goals and priorities. You identify the problem to solve, target users, main features, and expected outcomes.
The planning phase helps you outline the scope, budget, and timeline of your project before you start with design and development.
- Teams responsible: Product managers, business analysts, founders, UX researchers
- Output: A product vision, problem statement, target audience definition, initial feature list, project objectives, budget, timelines, success metrics, and minimum viable product (MVP) scope
- Checks: You must confirm that your app addresses a genuine user problem and the features align with user needs
- Usual failure: Starting development based on assumptions and not as per validated user needs, resulting in unclear requirements, scope creep, delayed launches, and rework
2. Research and feasibility
The research and feasibility stage helps you decide if your proposed app is viable from a market, business, and technical perspective. For this, you study your competitors, evaluate user demand, assess technology requirements, and estimate costs.
- Teams responsible: Product managers, business analysts, market researchers, technical leads
- Output: Market and competitor research report, technology recommendations, costs, and a list of potential risks, dependencies, and integrations required
- Checks: Verify user demand, technology compatibility, third-party integrations, and security
- Usual failure: Here, overlooking technical constraints or trusting unverified market assumptions can lead to unrealistic budgets, unsuitable technology choices, and unexpected integration challenges
3. Wireframes and prototype
In the next stage, you create the visual layouts and interactive representations of your app’s screen layouts and user flows with the help of design tools like wireframes and prototypes. This enables you to evaluate the experience your app will deliver and identify usability problems early.
- Teams responsible: UX designers, product designers, developers, and product managers (for reviewing and sharing feedback)
- Output: Screen wireframes, user flow diagrams, interactive prototype demonstrating how users navigate between screens and complete tasks
- Checks: You need to ensure that navigation is smooth, prototypes cover the key user journeys, and screen layouts support the intended tasks
- Usual failure: Skipping prototype validation, creating screens without mapping complete user journeys; this can lead to navigation gaps and usability issues which you discover later after the development begins
4. UI/UX design
The UI/UX design stage is where you convert the approved wireframes and prototypes into a detailed interface. For UI design, you mainly focus on the visual elements like colors, typography, icons, and layouts. In UX design, you confirm that navigation, interactions, and workflows are intuitive and accessible.
- Teams responsible: UI/UX designers collaborate with product managers, developers, and accessibility specialists to create and review designs
- Output: High-fidelity screen designs, component library, interaction specifications, visual assets, and design guidelines
- Checks: You must check visual consistency, intuitive navigation, readable text, accessibility, responsive layouts, and ensure they align with functional, accessibility, and business requirements
- Usual failure: Prioritizing visual appeal over usability and relying on incomplete specifications, resulting in confusing navigation and inaccessible interfaces
Also Read: UI Testing: A Complete Guide With Techniques, Tools, & Best Practices
5. Development
This is the stage where you start writing the code to build your app. Your frontend developers create the screens and interactions users see. Backend developers are responsible for developing the databases, authentication flows, and APIs. Both the frontend and backend together support your app’s features, manage data, and communicate with external services.
- Teams responsible: Primarily the developers
- Output: A working app build with core features, frontend screens, backend services, database integrations, API connections
- Checks: Make sure that all the app components integrate correctly, the APIs exchange data as expected, and authentication and authorization flows function properly
- Usual failure: Developing app components without aligning their data formats, API contracts, and requirements; this can cause defects and integration failures which affect user experience
6. Testing
This is one of the most critical stages of your development workflow. Here you test your app to ensure it meets the functional requirements and delivers a reliable experience across devices and operating systems. You should ideally cover unit, integration, functional, regression, performance, security, compatibility, and end-to-end tests.
- Teams responsible: QA engineers, software testers, developers (to run unit tests), automation engineers (to build automated test suites)
- Output: Test plans, test cases, test data, execution logs and screenshots, defect reports, test results
- Checks: Your tests should examine your app’s core functionality, device and OS compatibility, UI behavior, usability, performance, security, accessibility, error handling
- Usual failure: Testing only on a single device, postponing testing until development is complete, releasing without validating the critical user journeys
Also Read: How to Build a Mobile App Testing Strategy: Step-by-Step Guide
7. Deployment
After thorough testing, you deploy your app. This means you make the app available to users through distribution platforms such as Apple’s App Store and Google Play.
This stage involves preparing the production build, configuring store listings and required privacy disclosures, submitting the app for review, and addressing platform requirements before release.
- Teams responsible: Developers and release engineers prepare and submit the release; product managers may coordinate release readiness, while marketing teams may manage store listings and app descriptions
- Output: A signed production build, required screenshots and metadata, privacy disclosures, and a complete app release or staged rollout
- Checks: When deploying, you should verify build signing, version numbers, production configuration, permissions, privacy disclosures, store policy compliance, and the app’s installation behavior
- Usual failure: Submitting an app with incomplete store metadata, policy violations, or production configuration errors
Learn More: What Is Deployment Testing? Types, Process, and Best Practices
8. Maintenance and updates
This is a post deployment phase. Here, you monitor your app’s performance, review user feedback, fix defects, address security issues, add new features, and update the app to include newer operating system versions, devices, and changing requirements
- Teams responsible: Developers and backend engineers add features, update code, and resolve defects; QA engineers validate fixes and test new releases
- Output: Deliverables include bug fixes, security patches, compatibility updates, performance improvements, new features, updated app releases, and maintenance records documenting changes and resolved issues
- Checks: Monitor crash rates, app responsiveness, API errors, user feedback, and compatibility with different devices and OS versions; also, after any code change you need to run regression tests to ensure the modifications didn’t affect existing functionality
- Usual failure: Treating launch as the end of the development lifecycle; this can lead to crashes, security risks, and compatibility issues. Ongoing monitoring and maintenance is critical to ensure the app stays reliable and secure
Also Read: 19 Mobile App Testing Tools & Automation Frameworks for Android & iOS (2026)
The table below gives you a quick overview of the eight stages in the mobile app development lifecycle, along with the roles responsible for each stage and the deliverables.
| Stage | Owner | Output |
| Ideation and planning | Product managers, business stakeholders, app founders | Project goals, feature scope, MVP |
| Research and feasibility | Business analysts, technical leads | Market research, feasibility assessment |
| Wireframes and prototype | UX and product designers | Wireframes, interactive prototype |
| UI/UX design | UI/UX designers | Final screen designs, design system |
| Development | Developers | Working app including frontend, backend, APIs, and integrations |
| Testing | QA engineers, software testers | Test reports, defect reports |
| Deployment | Developers, release engineers | App published on app stores |
| Maintenance and updates | Developers, QA engineers | Bug fixes, security patches, OS compatibility updates, performance improvements, new feature releases |
What Are the Types of Mobile Apps You Can Build?
Native apps
Native apps are specifically built for one operating system using its development tools and languages, such as Swift for iOS and Kotlin for Android.
These apps can access features such as the camera, GPS location, and fingerprint authentication via the platform APIs. If you need high performance or deep hardware integration, then native apps are a suitable option.
Cross-platform frameworks such as Flutter and React Native provide another approach to the mobile app development process, allowing teams to share substantial portions of a codebase across iOS and Android while still targeting native platforms.
Hybrid apps
Hybrid apps are developed with the help of web technologies like HTML, CSS, and JavaScript, and then packaged inside a native container which you can install on iOS and Android. The container enables the app to access device features through platform-specific plugins or APIs.
The shared codebase of hybrid apps enables you to reduce the need to develop the app separately for each platform.
Progressive web apps (PWAs)
PWAs are basically web apps. You can build them using technologies like HTML, CSS, and JavaScript. These apps offer your users a native app-like experience across different devices.
On supported browsers and operating systems, users can install PWAs from the web and launch them from the device interface. PWAs can also support offline functionality through technologies such as service workers.
However, the features your users access can vary by browser and operating system.
Also Read: Android vs iOS Mobile App Testing: Key Differences, Tools, and Best Practices
Native vs hybrid vs progressive web apps: which one to build?
| Factor | Native apps | Hybrid apps | PWAs |
| Development technologies | Swift (iOS), Kotlin (Android) | HTML, CSS, JavaScript, native container | HTML, CSS, JavaScript, web APIs |
| Codebase | Separate iOS and Android implementations | Shared codebase | Shared codebase |
| Device access | Access through platform APIs, subject to permissions | Access through plugins and platform APIs | Access depends on browser and OS support |
| Distribution | App Store and Google Play | App Store and Google Play | Primarily through a web browser |
| Best suited for | Apps which require high performance or deep platform integration | Apps that target iOS and Android with substantial code reuse | Apps prioritizing browser access, broad reach, and simpler distribution |
Note that you should evaluate these options during your planning and feasibility stage and consider your target users, required device features, performance needs, budget, development skills, and distribution requirements.
Choosing after your developers start coding can require significant architectural changes and rework.
Also Read: Types of Mobile Testing With Real-life Examples
How to Develop a Mobile App with Waterfall vs Agile Methodologies
Waterfall and Agile are two different software development methodologies. Knowing the differences between them will help you select the right approach for planning, developing, testing, and releasing your mobile apps.
In Waterfall, your mobile app development lifecycle follows a sequential process. You first define the requirements, complete designs, develop the app, test it, and then prepare it for release.
And for each of these phases, you generally need to meet agreed criteria before the next phase can begin. This approach can suit projects which have stable requirements and clearly defined deliverables.
In the Agile approach, on the other hand, your team builds the app in smaller increments called iterations or sprints. Here, you develop and test features continuously, gather feedback, and adjust priorities as your requirements evolve with time.
Agile supports frequent validation and incremental releases, which helps your team respond to changing user needs without waiting for the entire app to get developed completely.
What Can Go Wrong in Application Development for Mobile Devices: The Challenges
1. Unclear API requirements and dependencies
Unclear API requirements or overlooking third-party API dependencies during your development stage can cause frontend and backend teams to make different assumptions on endpoint behavior, data formats, authentication, or error responses. And this can lead to API integration failures and inconsistencies in data exchange.
| Best practice You can overcome this problem by formulating API contracts before implementation, and specifying endpoints, request and response schemas, authentication, error handling, and versioning. |
2. Inadequate handling of app permissions and denied access
The permission-dependent features of your app might fail when users deny or revoke access to the camera, microphone, or location if you don’t test their behavior properly. Your apps may crash, show errors, or block unrelated features.
| Best practice When you’re testing your app, make sure that you cover both granted and denied permission scenarios, including permissions revoked through device settings. Also, provide a fallback or disable only the affected functionality when any permission is denied. |
3. No crash or performance monitoring after release
If your teams fail to monitor production crashes, app hangs, startup times, and resource usage in the maintenance phase, you may miss problems which affect your real users. These issues can differ by device model, OS version, or usage conditions, which is why, observing their behavior across these combinations is important.
| Best practice You can leverage crash reporting and performance monitoring tools, and review your production metrics regularly, as well as track issues by app version and device configuration. Then use the findings to prioritize fixes and make improvements. |
4. Incomplete app store metadata and listing assets
Incomplete or inaccurate app descriptions, screenshots, icons, privacy disclosures, or required store information can delay submission or lead to rejection when you’re deploying your app. Store listings which misrepresent your app’s actual functionality may also violate platform policies.
| Best practice Always try to prepare your store listings early and verify each platform’s submission requirements. You must check that the descriptions, screenshots, icons, privacy details, age ratings, and required metadata are complete, accurate, and consistent with your app’s actual features before you submit it for review. |
5. Unplanned changes to third-party SDKs and integrations
When you update a third-party SDK or integration without assessing its changes it can cause incompatible APIs, new permission requirements, dependency conflicts, or unexpected behavior. And these changes might impact your existing features or prevent your app from functioning correctly.
| Best practice You need to review the SDK release notes, migration guides, and compatibility requirements before you update SDKs or integrations. Also, test the changes in a separate branch and run automated regression tests. |
Learn More: 5-Step Guide to Mobile App Testing Automation
How to Use This Lifecycle to Build Your Next App
You can refer to the roadmap below to start the mobile application development process steps and navigate each stage smoothly.
- Define the problem: Identify your target users, the problem your app solves, and the critical features and user journeys
- Validate feasibility: Research your competitors, confirm technical requirements, set a budget, and agree on a realistic timeline with your development, QA, business teams and the vendor
- Pick an approach: Decide what you want to build whether it’s a native, hybrid, or PWA app, and the development method (Agile or Waterfall); this decision should be based on your user demand, device requirements, and distribution needs
- Approve the prototype and design: Review the wireframes and interactive prototypes before you sign off on the final interface
- Build in manageable increments: Set deliverables, milestones, and review points and check your team’s progress against requirements
- Test before release: Assess the key features, security, performance, and compatibility across the devices and operating systems your app should support; resolve critical defects before launch
- Plan for launch and beyond: Finalize your app’s store listings, descriptions, and submission requirements; also, plan for post-launch activities like monitoring app performance, tracking user feedback, fixing reported issues, and scheduling updates to improve functionality
Also Read: Best 9 AI Tools for Mobile App Testing in 2026
Test Your Mobile Apps End to End before Deployment with TestGrid
Built by TestGrid, TestGrid ONE is the AI operating system that runs quality engineering. The testing platform offers a suite of robust capabilities including manual, automated, and codeless testing.
You can test native and hybrid mobile apps on real iOS and Android devices, and validate mobile web experiences across browsers, operating system versions, screen sizes, hardware configurations, and network conditions
You can also validate functionality, visuals, compatibility, gestures, biometric authentication, camera input, and orientation changes, while monitoring CPU usage, memory consumption, battery impact, network activity, and UI response times.
And you can automate testing for all these scenarios by integrating with CI/CD tools such as Jenkins, Azure DevOps, GitHub Actions, and CircleCI.
With TestGrid, you can also:
- Create executable test flows in plain English or BDD using codeless automation
- Test your app’s behavior under 2G, 3G, 4G, unstable Wi-Fi, and airplane mode conditions
- Reproduce interactions such as taps, swipes, scrolling, biometric authentication, camera input, and orientation changes
- Update test scripts when locators, labels, attributes, or interface layouts change with AI-assisted auto-healing
- Monitor CPU usage, memory consumption, battery impact, network activity, and UI response times
For each execution, you can review reports, performance signals, video recordings, screenshots, logs, and error details through TestGrid dashboards.
You can also test in VPN-enabled and MDM-managed environments to support enterprise security and compliance requirements. Optimize mobile app testing with TestGrid. Request a free trial.
FAQs
1. What is mobile app development?
Mobile app development is the process of planning, designing, building, testing, deploying, and maintaining applications for mobile devices such as smartphones and tablets. Software development for mobile applications can involve native technologies for a specific operating system, cross-platform frameworks, hybrid approaches, or web technologies.
2. What are some of the emerging technologies powering mobile apps?
AI and machine learning (ML) are increasingly used in mobile apps for capabilities such as personalization, recommendations, image recognition, and predictive features. Augmented reality (AR) can overlay digital content onto physical surroundings, while virtual reality (VR) supports immersive experiences where suitable mobile hardware is available.
3. What programming languages are used for the mobile app development process?
Swift is commonly used for native iOS development, while Kotlin is widely used for native Android development. Cross-platform frameworks use languages such as Dart with Flutter and JavaScript or TypeScript with React Native. Hybrid and progressive web applications commonly use HTML, CSS, and JavaScript.