
Microsoft Teams Integration With TestGrid
Overview
Microsoft Teams is a business communication and collaboration platform developed by Microsoft as part of the Microsoft 365 suite. It enables teams to communicate and collaborate through workspace chat, video and audio conferencing, file sharing, and seamless application integrations. Designed to support both remote and in-office collaboration,
How Can Your TestGrid Account Be Integrated With Microsoft Teams?
Step 1: Log in to your TestGrid account.
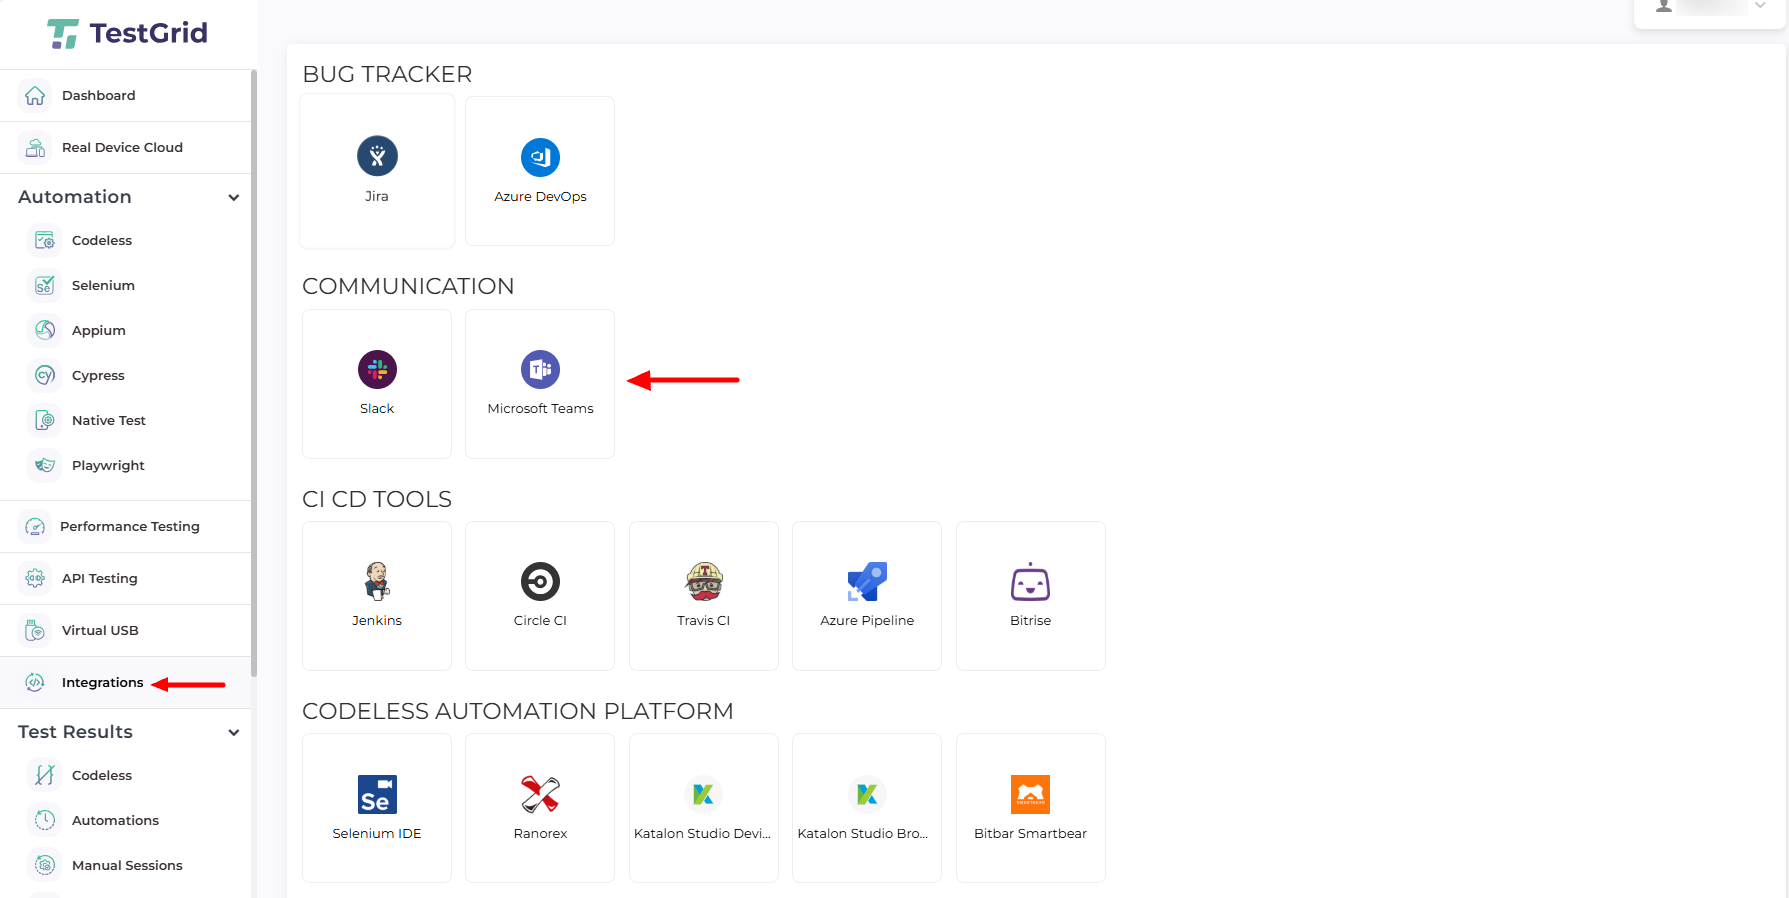
- After logging into the TestGrid platform with valid credentials, select Integration Tools from the left panel. Clicking this option will open the Integration Tools page, where you can view the list of available third-party integrations.
Step 2: Once you click on Microsoft Teams, you will see an information window appear.

Step 3: Now log on to your Microsoft Teams account. Click on Teams, under the Teams menu, create a channel “TestGrid Build Updates,” and Add.

Step 4: On the top left side of Microsoft Teams, click on Connectors and click on Configure the Incoming Webhook.


Step 5: Type in the channel name “TestGrid Build Updates” and tap on Create. A URL is generated, copied to the clipboard, and clicked on Done


Step 6: Go to Step 2 and paste the URL and click on Install. We get a notification of successful integration; the same can be viewed in Microsoft Teams as well.

Step 7: Return to the TestGrid dashboard, and you will see that your account is now integrated with Microsoft Teams.
Click on Settings, and you will see notification preferences.

Step 8: On the left side of the panel, click on the Real Device Cloud menu. You will be redirected to the Real Device Cloud window.
-
If you click on the device, you will see the reserve option in the device information.
-
Click on the reserve option, and a Reserve Device window will appear. Then you will enter the appropriate information in that required field.
-
After entering the required information in that field and clicking the reserve button, you will see the “device reserve successful” message. On the right top side of the panel.

A notification will be shared with all the members of that channel, informing them about your integration.

That’s it! Go to Integrations again, and you will notice a blue tick indicating that Microsoft Teams has been successfully installed.
Happy Testing!!