
Slack Integration With TestGrid
Overview
Slack stands for Searchable Log of All Conversations and Knowledge. It is a cloud-based collaboration and instant messaging platform designed to enhance team communication and productivity. Slack centralizes all team conversations into a single, organized workspace, making collaboration more efficient and transparent.
Slack supports real-time messaging, file sharing, screen sharing, audio and video calls, and advanced search across conversation history and shared files. Teams can create dedicated channels for different projects, topics, or departments, ensuring focused discussions and better organization. This structured approach provides a unified communication environment while keeping conversations relevant and easy to track.
Overall, Slack helps teams collaborate seamlessly by keeping conversations, knowledge, and resources accessible in one integrated platform.
How Can Your TestGrid Account Be Integrated With Slack?
Step 1: Log in to your TestGrid account.
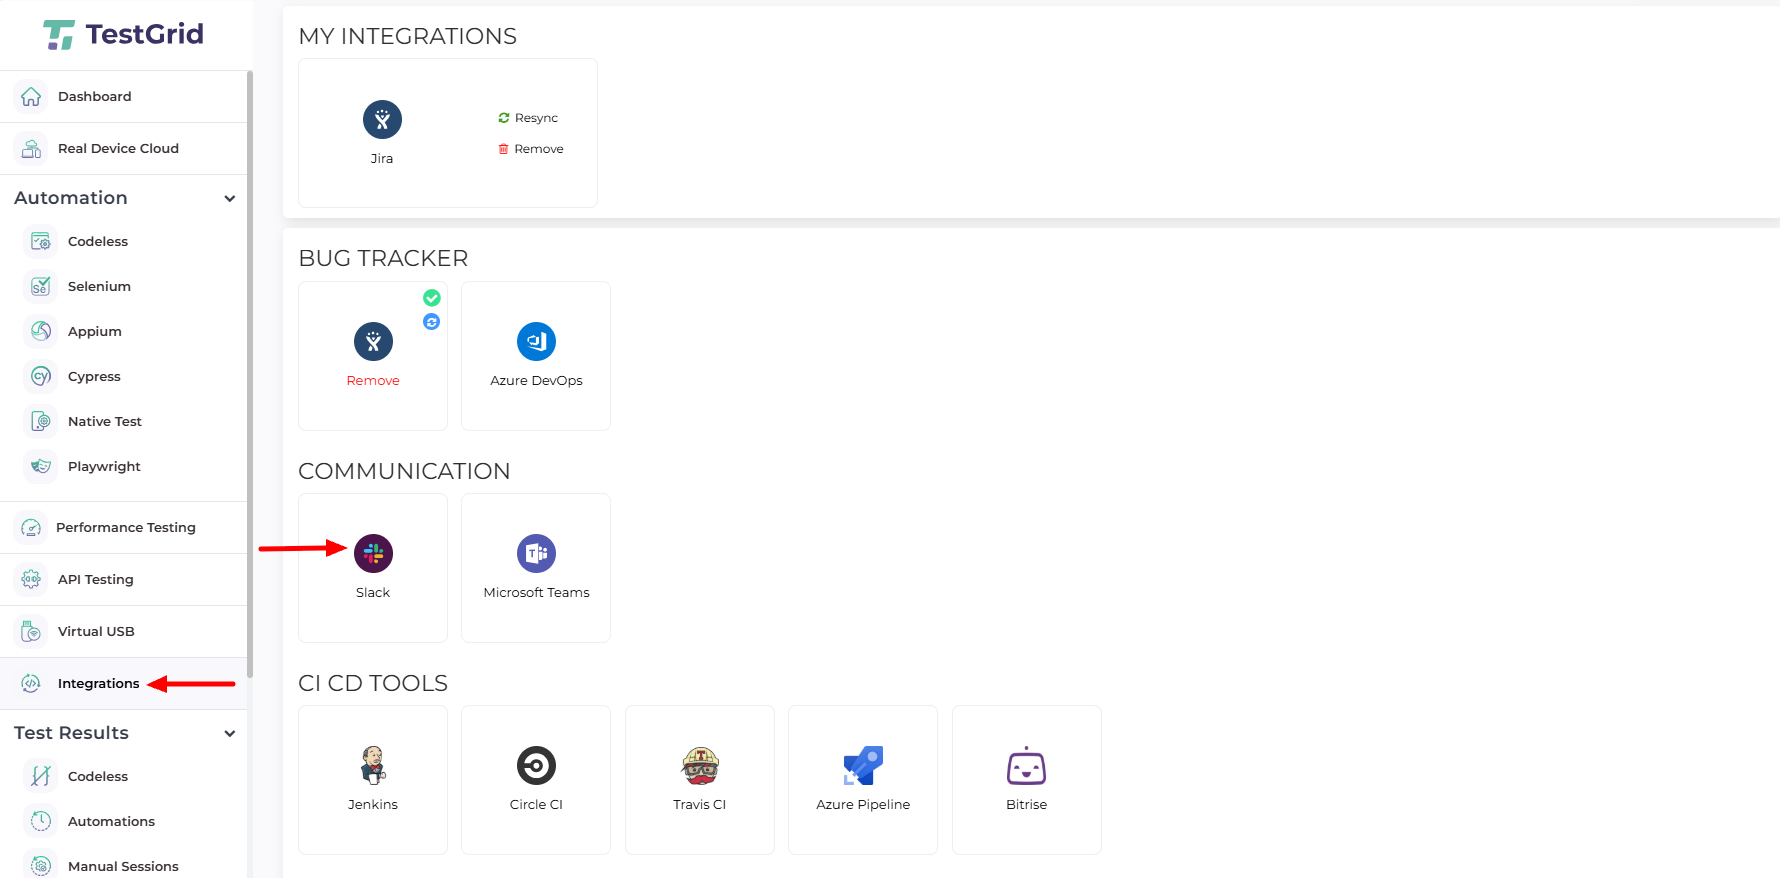
- After logging into the TestGrid platform with valid credentials, select Integration Tools from the left panel. Clicking this option will open the Integration Tools page, where you can view the list of available third-party integrations.
Step 2: Once you click on Slack, an information window will appear. Click the Install button to proceed.

Step 3: After clicking the install button, you will be redirected to Slack Workplace.
- Enter a valid email address in the required field, then click the Continue button.

Why do we ask for your login credentials?
Slack APIs use OAuth 2.0’s authorization code grant flow to generate access tokens on your behalf. This ensures that your account is securely authorized without sharing your password directly with third-party applications.
What is an access token?
An access token is a string that contains authorization keys needed to access an API. These tokens are typically opaque and issued to a client-server application. They allow the application to make requests for user-specific, secured resources. Access tokens are critical for security and can be generated in different formats, depending on the requirements of the resource server.
Step 4: Verify Identity by Posting to a Slack Channel
- After logging in to Slack, you will be redirected to a page where you must post a message to a channel to verify your identity.
- You can share your UI insights with your team by posting to any existing team channel. Alternatively, you may post the message in a personal or direct channel to share it privately with a colleague or friend.

- Once you click on the allow button, you will be redirected to the test grid dashboard.
Step 5: Return to the TestGrid dashboard, and you will see that your account is now integrated with Slack.
- Click on the settings, and you will see Notification Preferences.

Step 6: On the left side of the panel, click on the Real Device Cloud menu. You will be redirected to the Real Device Cloud window.
- If you click on the device, you will see the reserve option in the device information.
- Click on the reserve option, and a Reserve Device window will appear. Then you will enter the appropriate information in that required field.
- After entering the required information in that field and clicking the reserve button, you will see the “device reserve successful” message. On the right top side of the panel.

- A notification would be shared with all the members belonging to that channel, informing them about your integration.

That’s it! Go to Integrations again, and you will be able to notice a blue tick indicating that Slack is successfully installed.