
Test Data Management with Parameterization in TestGrid
Overview:
The Data-Driven Test Automation Using Test Data Parameterization functionality enables testers to execute the same test case multiple times with different data inputs, eliminating the need to create duplicate test cases. It replaces the traditional practice of entering hard-coded input values with parameters. Test data parameterization enables QA teams to store reusable test data in a centralized location, import existing parameters and datasets, and share data across projects. Parameterization of test data is one way to make your tests consistent and manageable. You can quickly create automated data-driven tests using Test Data Parameterization in TestGrid.
In TestGrid, if you want to keep your test data separate from the test case, then you have to follow a 3-step process.
-
Create a CSV file with the test data.
-
Convert the CSV file into a URL that returns JSON data.
-
Use the JSON URL to access data inside the test case.
Step 1: Create a CSV file with the test data. (Method-1)
Sample CSV File: TestGrid _ Demo CSV – Sheet1
Your input data must be saved in a CSV file, with the entity’s name or description in the first row. You can enter values for the entity starting in the second row.
For example:
CityName, CountryName
Atlanta, Georgia
Savannah, Georgia
Norcross, Georgia
Step 2: Convert the CSV file into the URL that returns JSON data.
- There are two ways to access the CSV to JSON converter:
- One is on the TestGrid Dashboard, and the other is inside the test case writer screen.
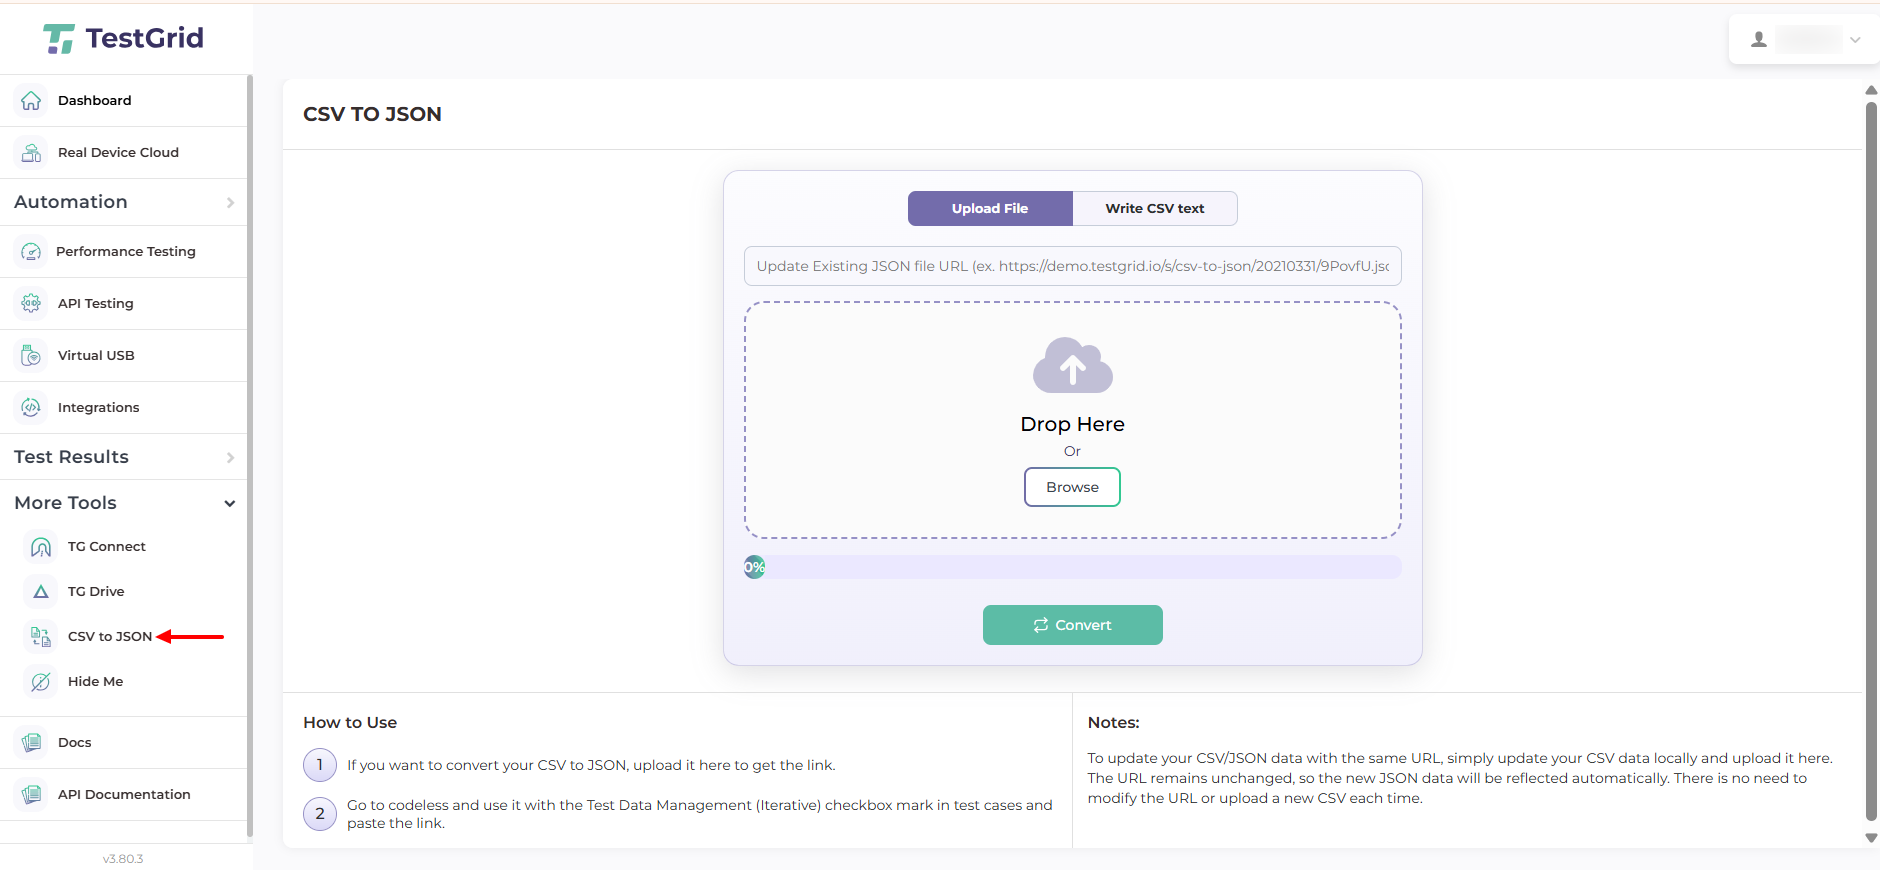
- The option to convert CSV to JSON can be found by clicking More Tools. Then select “CSV to JSON.

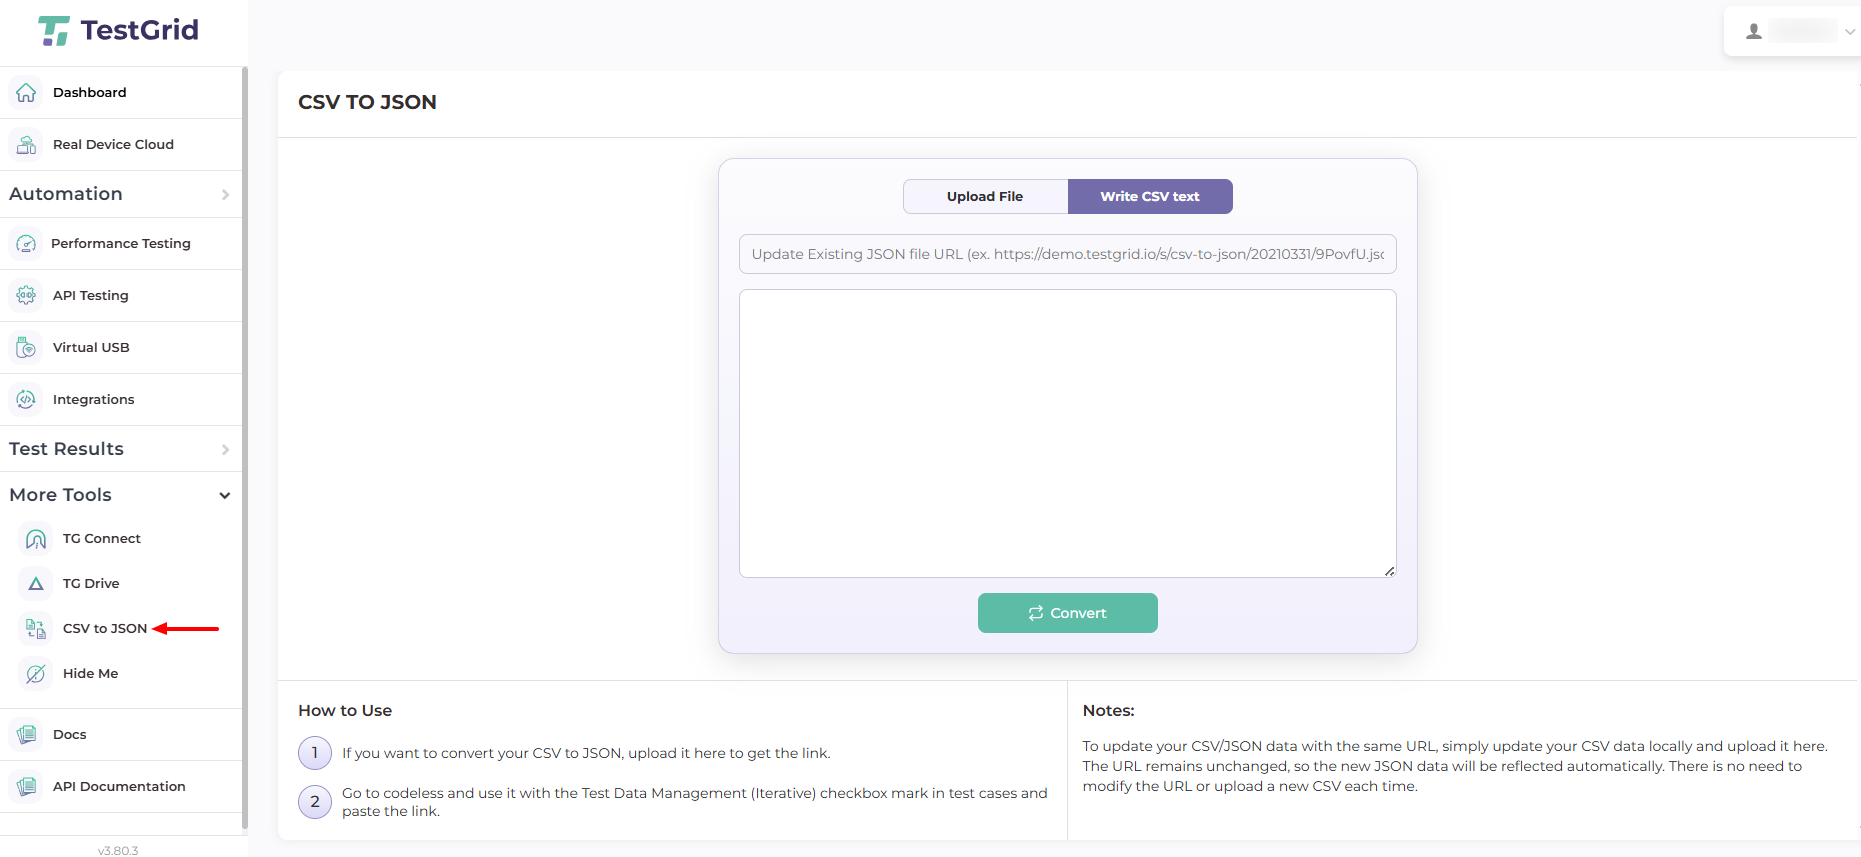
- You can now see the CSV to JSON screen, where there are two options: “Write CSV Text” and “Upload File”. You can choose any option.
The screen below will appear if you choose “Write CSV text.
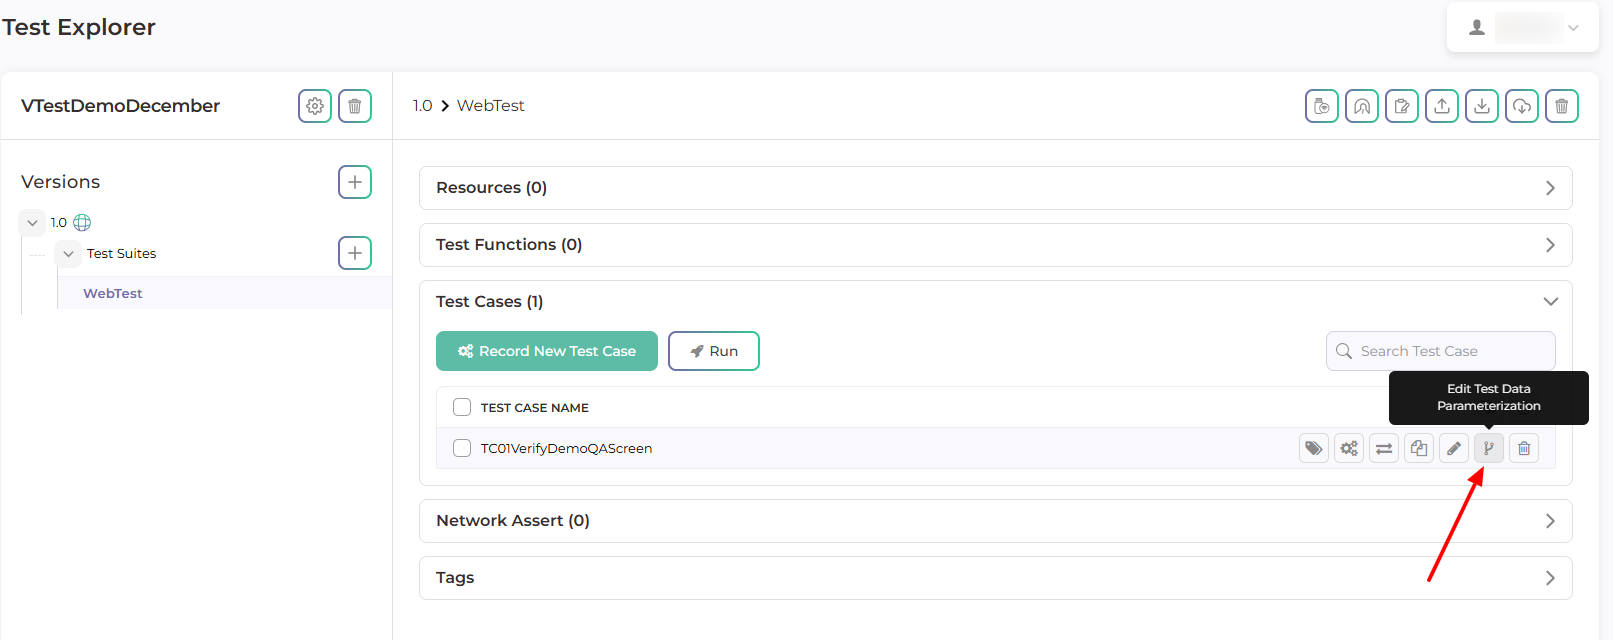
B. We can also navigate to the CSV to JSON converter from the Testcase Writer screen by clicking on the “Is Iterative TestCase?“ checkbox and then clicking on the CSV to JSON link.
Once you reach the CSV to JSON converter, follow the following steps to convert the CSV file to a JSON URL:
- Drop or browse the CSV file into the “DROP HERE” section. There is also an option to write or paste the CSV text.
- Your CSV will be created after you have uploaded the file and clicked “CONVERT NOW.”

-
You can now copy the URL from your browser, return to your test case writer screen, and effectively use it.
Step 3: Use the JSON URL to access data inside the test case.
- You can use the copied URL from the previous step in the Testcase on the textfield next to the #TGITVAR input field option.
- So here, the variable #TGITVAR contains the whole JSON data response from the file.
- To get individual values from the whole response, we need to declare individual variables and then assign them values using #TGITVAR
Ex:

#TGITVAR.CityName
We can observe that the CityName variable receives values that are different from those we specified during runtime. The type of action has value, as we can see.

Step 3: Use the JSON URL to access data inside the test case. (Method-2)
-
To store the response from the URL we received in step 2’s first step, we must first create a variable of data type JSON.

- So here, the variable CSVData contains the whole response from the JSON URL.
- To get individual values from the whole response, we need to declare individual variables and then assign them values using the JSON PATH.

- Here we have declared the “firstCity” named string variable and assigned the value of the first city name from the JSON response using JSON PATH “$.records[0].CityName”
- Now we can use this “firstCity” variable into Type Action.

- Based on our example, it will read the first city name (“Atlanta”) from the response and type it in the SearchLocation EditText field.
- To iterate over a list of city values, we need to create a JSON path with an integer variable whose value keeps increasing with every iteration. We can do that as follows:

Notes: Modifying the input data in the existing JSON URL
If we need to update the input data in the JSON URL
- We have to modify the CSV file as per the requirements.
- Open the CSV2Json Converter (https://www.testgrid.io/csv-to-json) in the browser.
- We have to paste the JSON URL that we want to modify in the “Update Existing URL” text field
- Upload the modified CSV file and click on the Convert button.
- Now, the same URL will provide you with the updated JSON response.
During the run time we can see the CityName variable getting different values we provided. We can see value in Type action.


