
Real Mobile Device Cloud: Secure Remote Mobile Testing
Introduction:
Modern software testing demands flexibility, security, and the ability to test applications across a wide range of real devices and browsers. To meet these needs, TestGrid provides a powerful remote access and control solution that supports both public and private instances. With the option to deploy a private lab on-premise behind your VPN, TestGrid ensures enterprise-grade security while remaining simple to install and manage.
This help document serves as a comprehensive guide to getting started with TestGrid’s remote testing capabilities. It walks you through the step-by-step process of remotely accessing and controlling browsers and devices, executing Selenium and Appium automation scripts, and performing extensive testing across multiple browsers and real mobile devices. Whether you are setting up your first test environment or scaling your existing testing infrastructure, this guide will help you efficiently leverage TestGrid for reliable and secure test execution.
Step 1: Log in to the TestGrid portal with valid credentials.
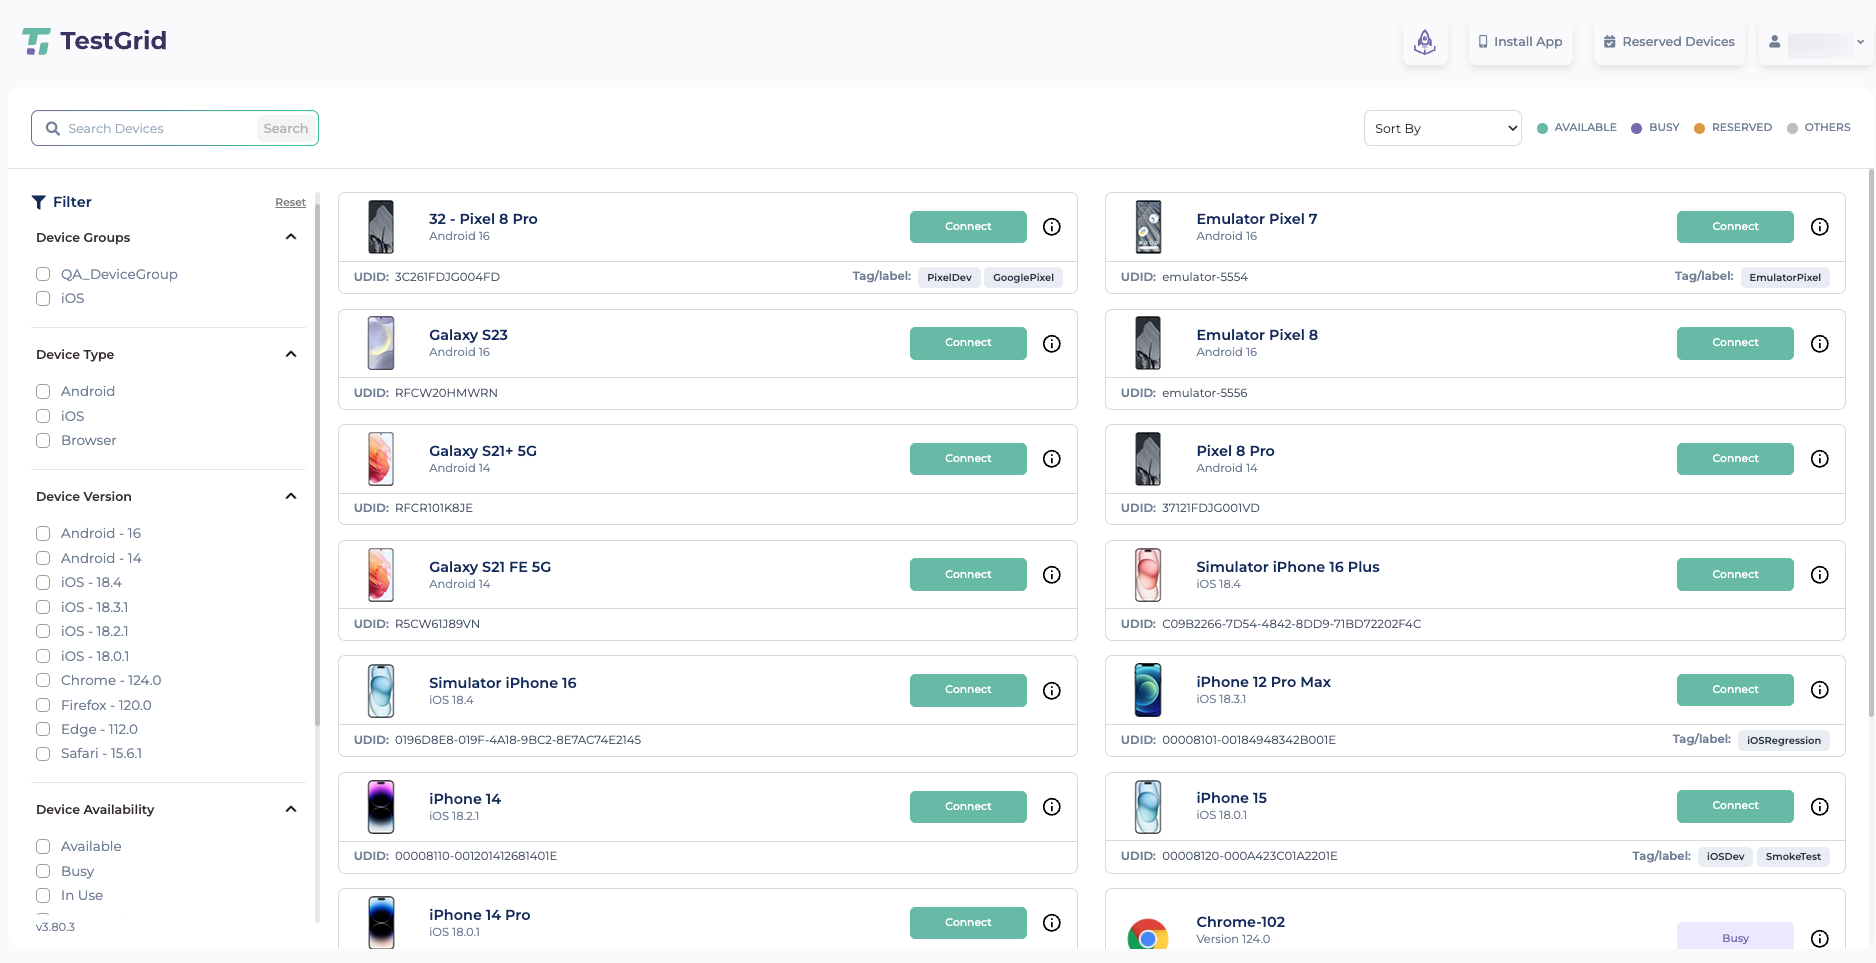
Start by logging in with valid credentials and navigating to the “Real Device Cloud” option tab.
Step 2: Explore the Real Device Cloud.
Once you’ve accessed the “Real Device Cloud,” you’ll find several real devices and browsers at your disposal. This extensive collection ensures that you have access to numerous testing environments, making your testing process more versatile and thorough.
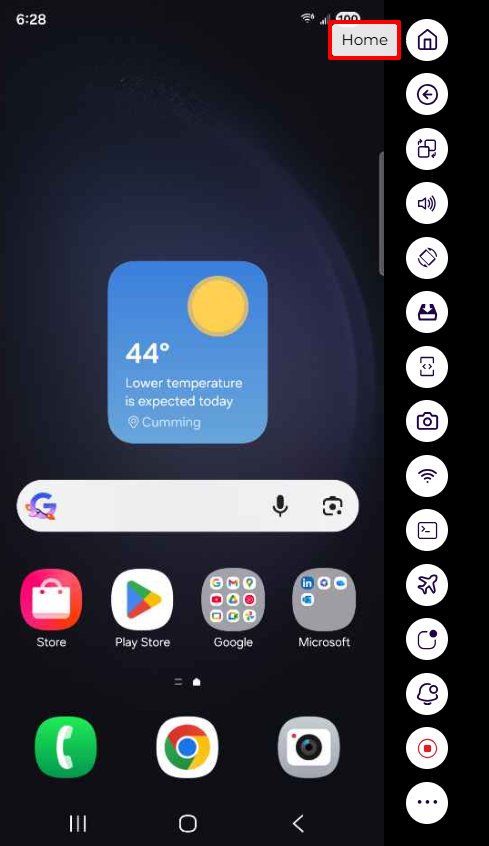
Step 3: After selecting the “Connect” button for a specific device, the user will be presented with the device screen interface, which displays a range of options.
a) “Home“: The home button on a phone serves as a fundamental navigation feature, enabling users to navigate back to the device’s home screen from any app or screen.
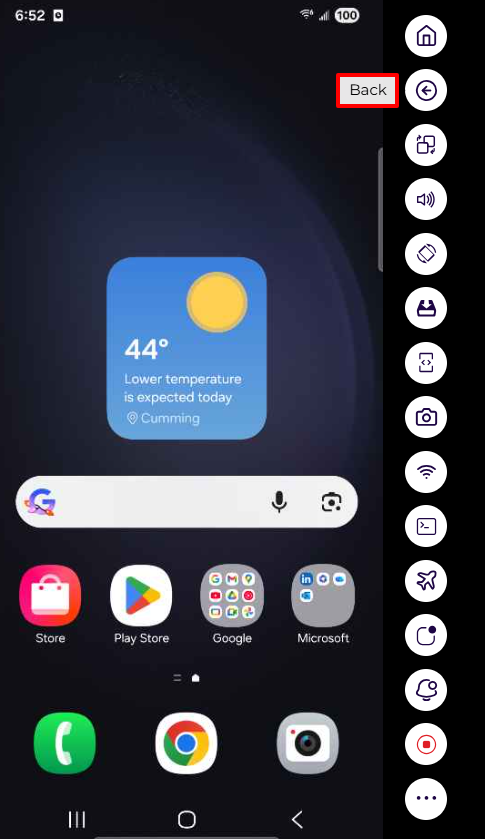
b) “Back“: The Back button pops the current destination off the top of the back stack, allowing you to navigate to the previous destination.
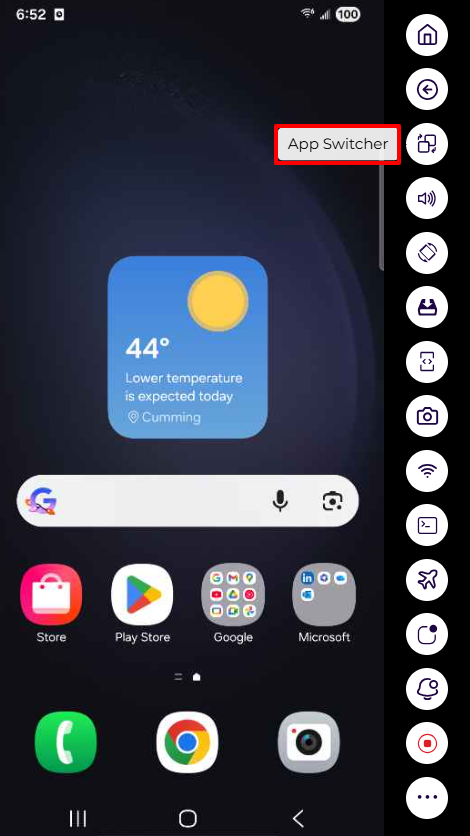
c) “App Switcher“: Utilizing the App Switcher on an actual cloud device enables individuals to review and seamlessly switch between open applications, enhancing multitasking efficiency.
d) “Copy“: This function allows users to duplicate text or content across various applications, supporting diverse testing scenarios. This feature ensures a flexible and realistic testing environment within the platform. For pasting text into text fields on a mobile device, you can use (CMD + V) for macOS or (CTRL + V) for Windows, based on your operating system.
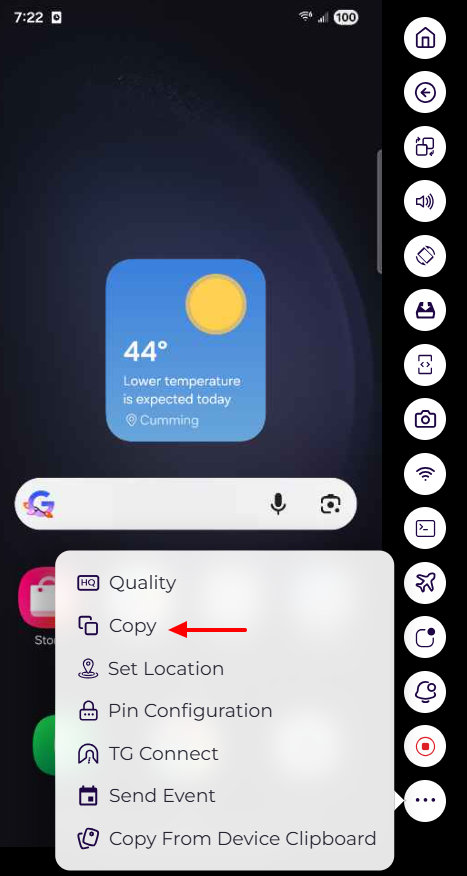
e) “Quality“: The button in a Real Device Cloud platform is employed to enhance the visual quality of the devices for testing purposes. This functionality proves valuable in providing a more accurate representation of devices and improving the overall testing experience.

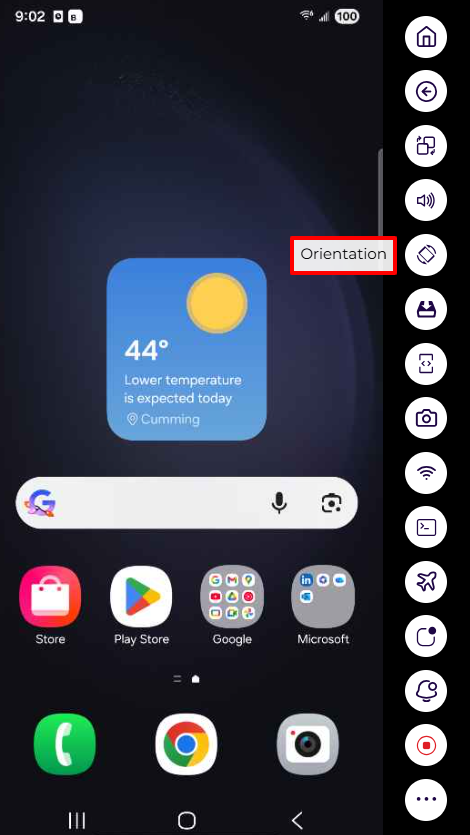
f) “Orientation“: To change the orientation of the screen to ‘Portrait‘ or ‘Landscape‘
g) “Installation”: installation functionality that allows users to install applications on real devices within the cloud environment. The process involves uploading the application package (APK for Android or IPA for iOS) to the device, selecting the target device, and initiating the installation.
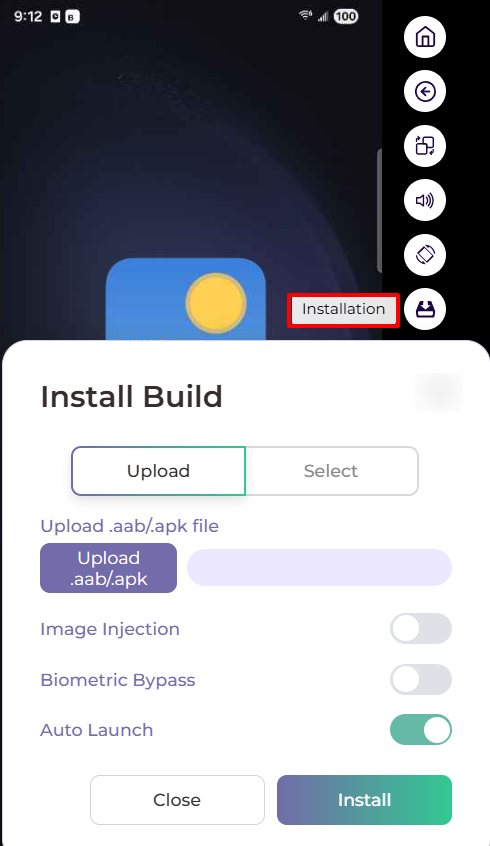
i) Biometric authentication is a method of verifying the identity of a user based on their biological characteristics, such as fingerprints, face, iris, voice, etc. This approach is employed to enhance the security and convenience of software applications.
ii) Image injection is a technique that enables you to test applications utilizing the device camera by providing them with an image that simulates the camera input. This method is employed to verify the app’s functionality and behavior based on the injected image. Image injection can expedite the testing of your app’s camera features, making the process faster, easier, and more reliable.
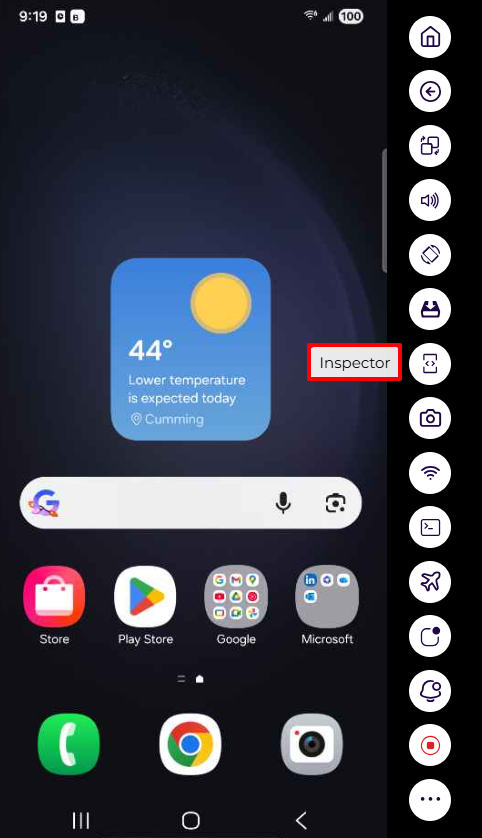
h) “Inspector”: The Inspector button in the real device cloud is a feature that enables you to inspect and interact with the elements of your mobile application. It is utilized for the following purposes: View the properties and attributes of the app elements, including resource IDs, class names, XPaths, Labels, Name, Text, etc.
- Generate custom XPath expressions for the app elements, which can be used in automation scripts.
- Perform actions on the app elements, such as clicking, tapping, swiping, etc.
- Record and playback your interactions with the app elements, and generate corresponding automation scripts
i) “Object Spy“: The object spy is a feature unique to Appium. It allows you to retrieve an XML dump of all the elements that are present on the screen at a given moment. With the dump, you can then generate XPath queries that will then be used in your Appium testing. The object spy also allows you to learn about the nature of each element by presenting you with a full set of that element’s properties.
ii) “Search XPath“: Appium Mobile is a feature that allows users to locate and interact with specific elements in the app’s user interface by using XPath expressions. This functionality simplifies the process of identifying and testing elements within the app, enhancing the efficiency of automation and testing tasks.
Read more.

i) “Set Location“: The Set Location feature on mobile devices enables users to change or spoof the device’s location information. This functionality can be utilized for accessing geo-restricted content, safeguarding privacy, or testing location-based apps. Users can input specific latitude and longitude coordinates to precisely set the location of the device, offering flexibility for various testing scenarios and application functionalities.
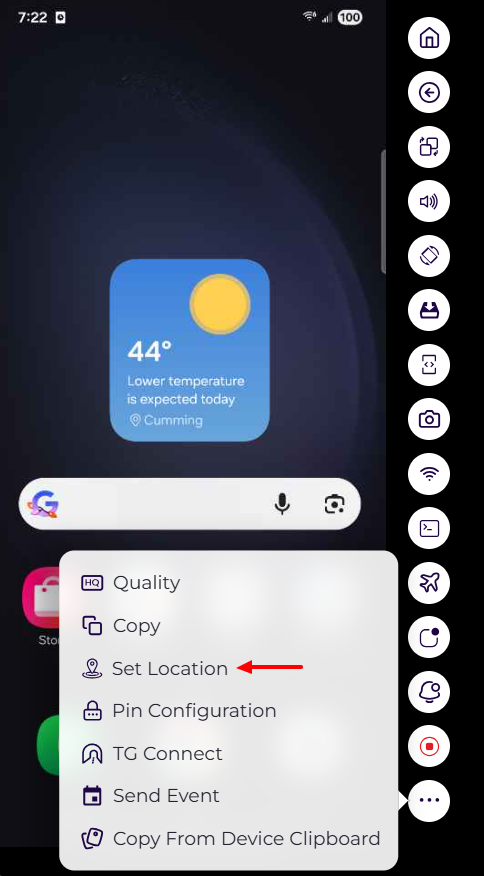

Note: The mentioned feature can be accessed on the Enterprise and On-Premises User plans. j) “Capture Screenshot”: Capturing screenshots is essential for visual validation and bug reporting. It ensures consistent user experiences across diverse devices, aids in cross-browser testing, and serves as documentation. Screenshots are valuable for collaboration, regression testing, and verifying application appearance on various devices and browsers.

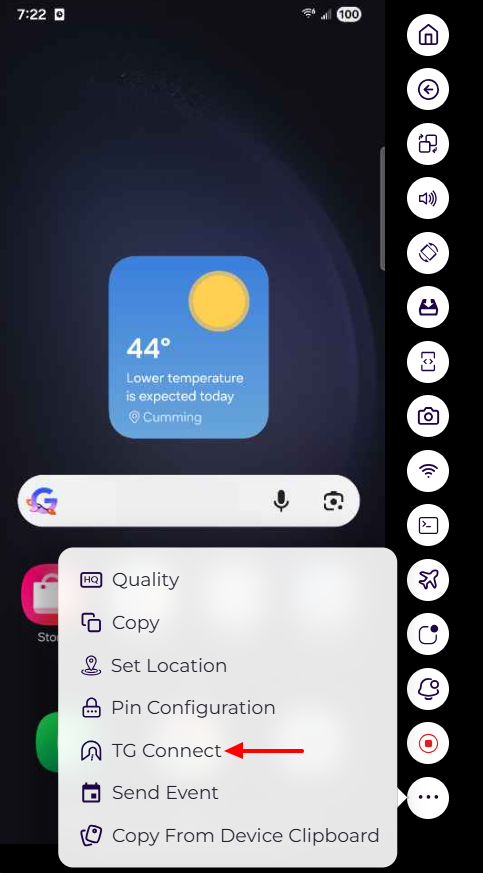
k) “TG Tunnel”: If the application is under a lower-end network or under a VPN firewall that no one can access, those applications can be accessed with the help of this feature.
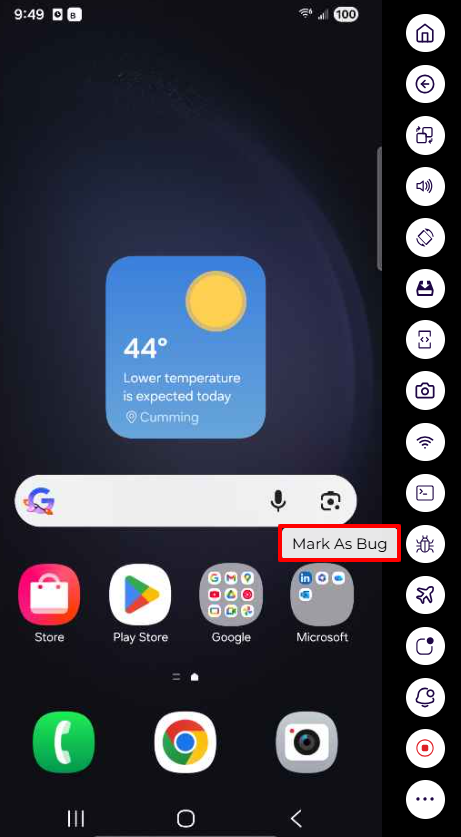
l) “Mark as Bug“: This will allow you to mark the bug you encounter.
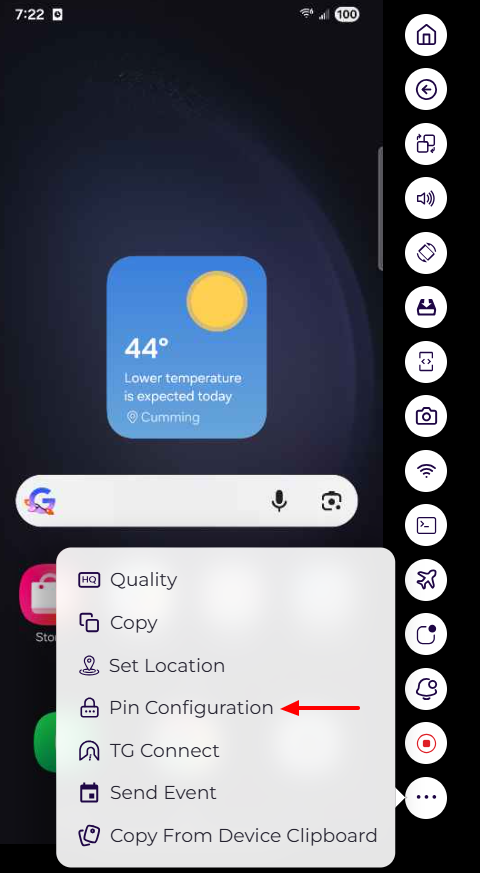
m) “Setting a PIN” (Personal Identification Number) on Android devices is a security feature that enhances device protection. The process may vary based on the Android version and device manufacturer. Testing on passcode-protected devices is crucial for scenarios where extra security is needed, especially for apps dealing with sensitive data, such as banking apps.
Read more
Note: The mentioned feature can be accessed on the Enterprise and On-Premises User plans.
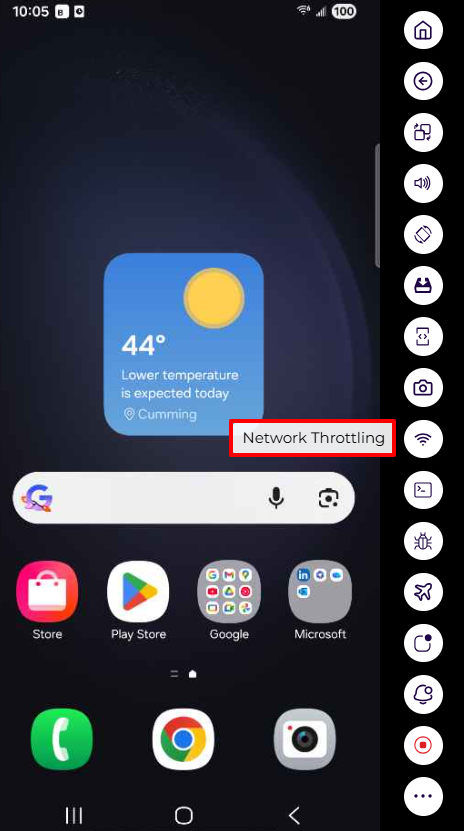
n) “Network Throttling”: Using this feature, we can test the application on different bands or speeds.
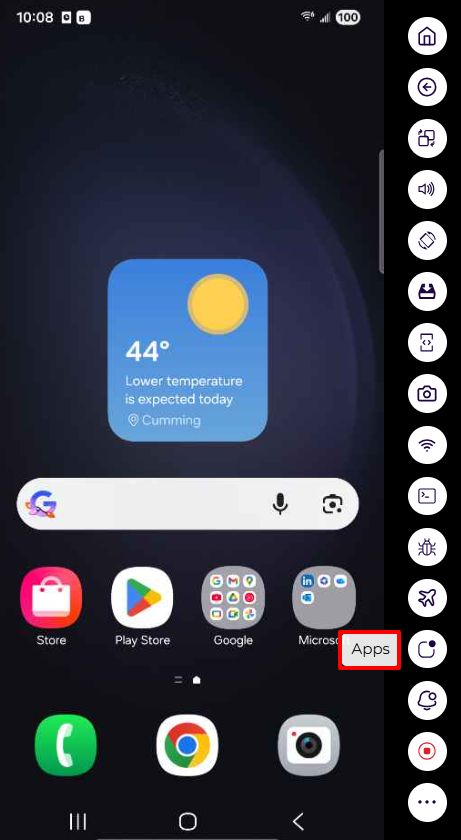
o) “Apps”: This feature will let you manage the apps that you install.
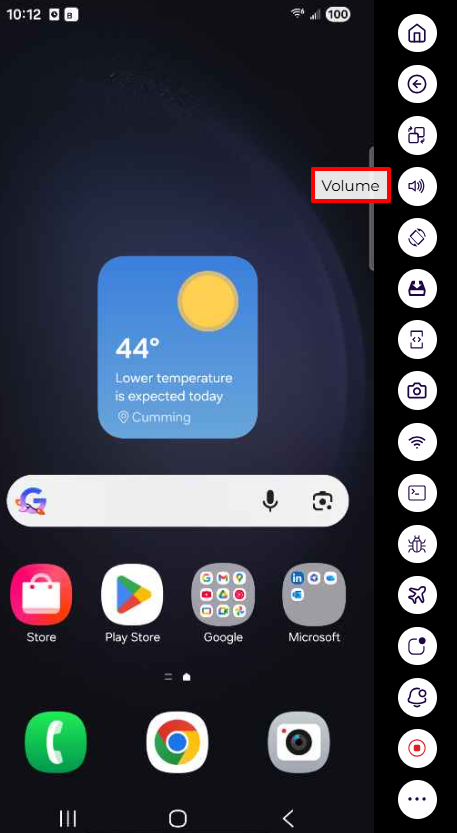
p) “Volume Button”: Seamlessly increase or decrease the device’s sound level during remote sessions with the Volume buttons.
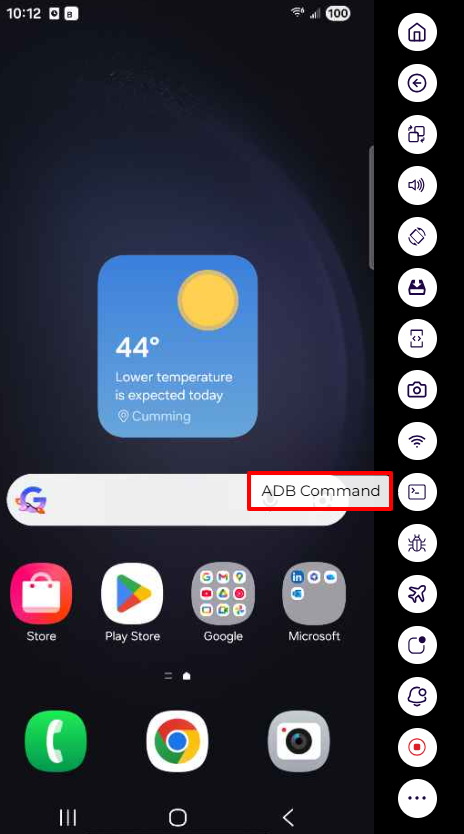
Q) “ADB Command” : ADB commands enable smooth, secure, and efficient interaction with Android devices, supporting automation, troubleshooting, and device management.
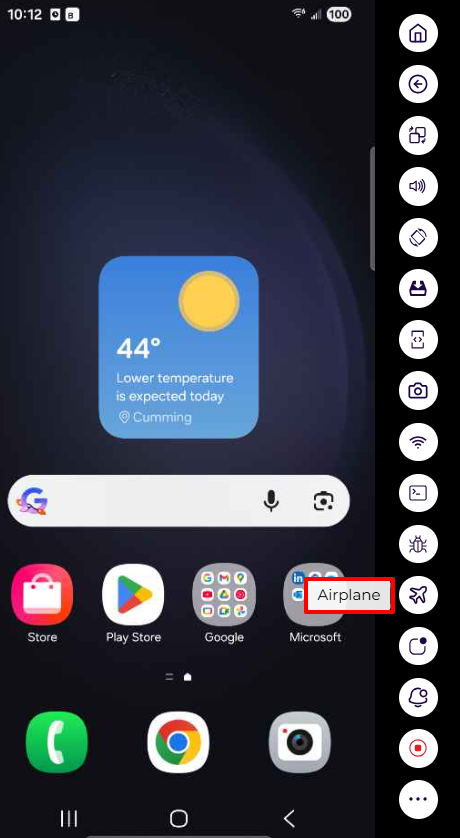
R) “Airplane Mode”: Airplane Mode provides a quick and reliable way to disable cellular, Wi-Fi, and Bluetooth connectivity on the device.
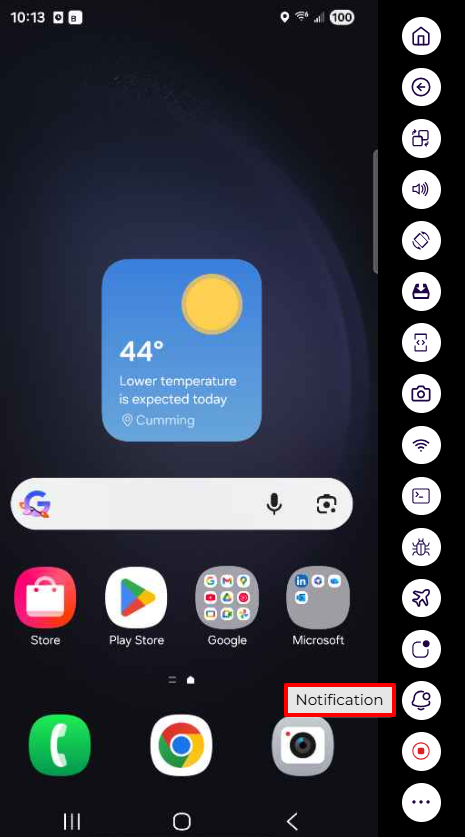
S) “Notification Button”: The Notification button provides quick and seamless access to view and manage device notifications during a remote session.
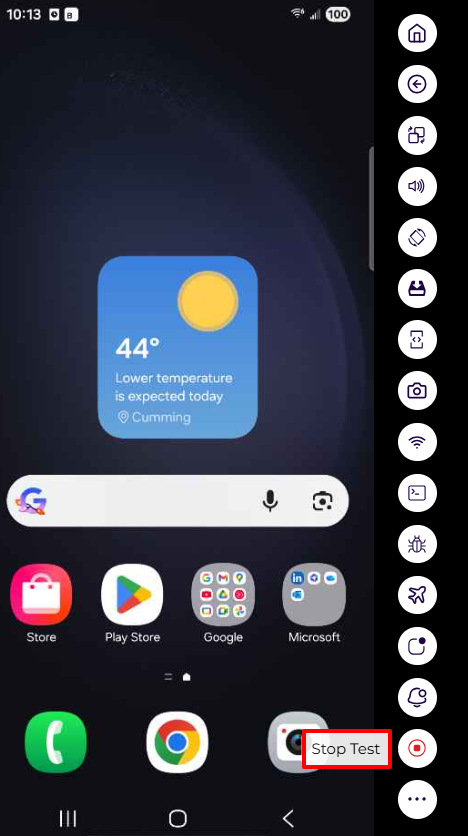
T) “Manual Screen Recording”: Manual screen recording features empower users to capture and share their device interactions effortlessly. Whether you want to create tutorials, demonstrate app functionalities, or report a bug, manual screen recording provides a versatile solution. This feature is accessible through the device’s settings or a dedicated app, allowing users to initiate recordings at their discretion.
After clicking the Stop button, a screen will appear where you can fill in the required steps. Once completed, click the End & Release button to end the manual testing session. The device will be automatically released after you click End & Release.
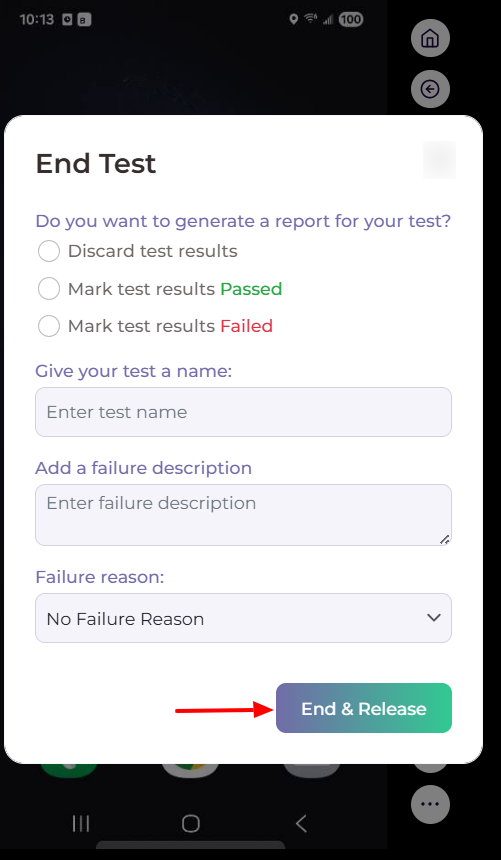
- The TestGrid dashboard provides complete visibility into your manual testing sessions. Under the Test Results section, the Manual Sessions option allows you to easily access and review the entire session in detailed video format.