
Flutter Automation with Appium: Local Execution on TestGrid Device Cloud
Overview
You can quickly configure and execute your Flutter automation tests on TestGrid’s remote device cloud using Appium with Java or Python. TestGrid’s Device Cloud runs the Appium Flutter Integration Driver on its Appium server, so you don’t need to install any Flutter driver locally; you only need to instrument your Flutter app for testing and point your existing Appium Java or Python client at TestGrid’s remote URL.
Prerequisites
Before running tests, make sure your Flutter app under test is instrumented with the integration_test package. This is the setup required by TestGrid’s Appium Flutter Integration Driver, which is already installed and configured on TestGrid’s Appium server. No local Flutter driver installation is needed on your machine or execution server. You only need a standard Appium client library (Java or Python) to send commands to TestGrid’s remote server and a build of your app with integration_test instrumentation enabled.
Step 1: Open the Device Cloud tab and locate the appropriate device information for running.
- Log in to TestGrid using your credentials.
- Navigate to Device Cloud from the TestGrid dashboard.
- Once the Device Cloud page loads, you will see the list of available devices.
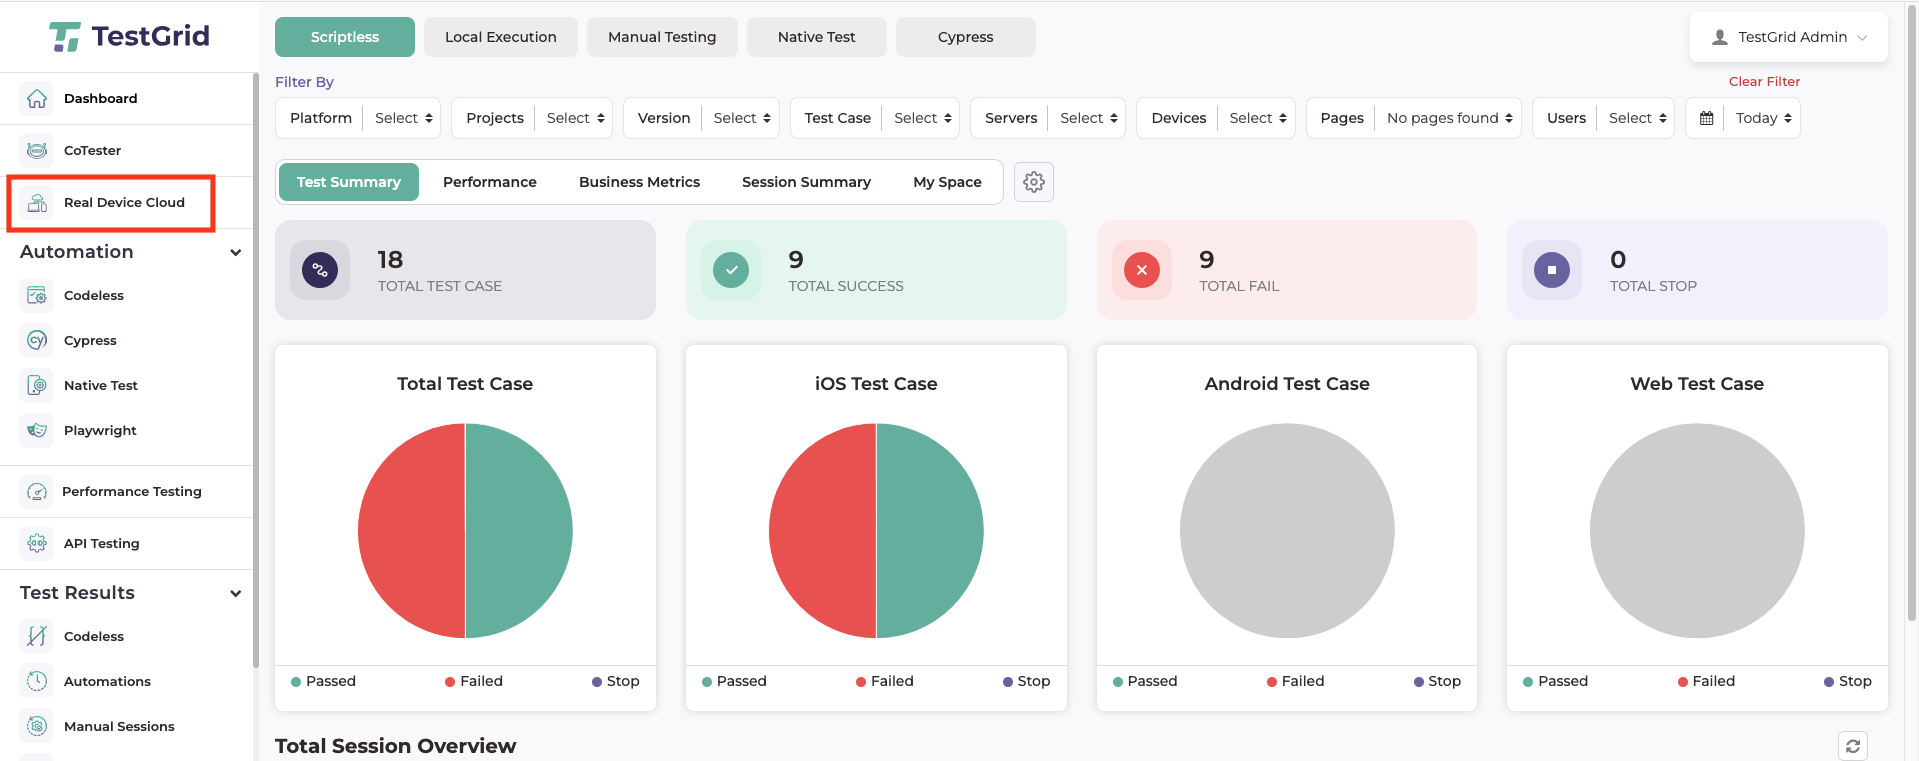
Step 2: Select an iOS or Android device from the Device Cloud and use the displayed Appium capabilities to configure and run your local code on the remote device.
- Choose the device on which you want to execute your Flutter tests.
- Select either an Android or iOS device.
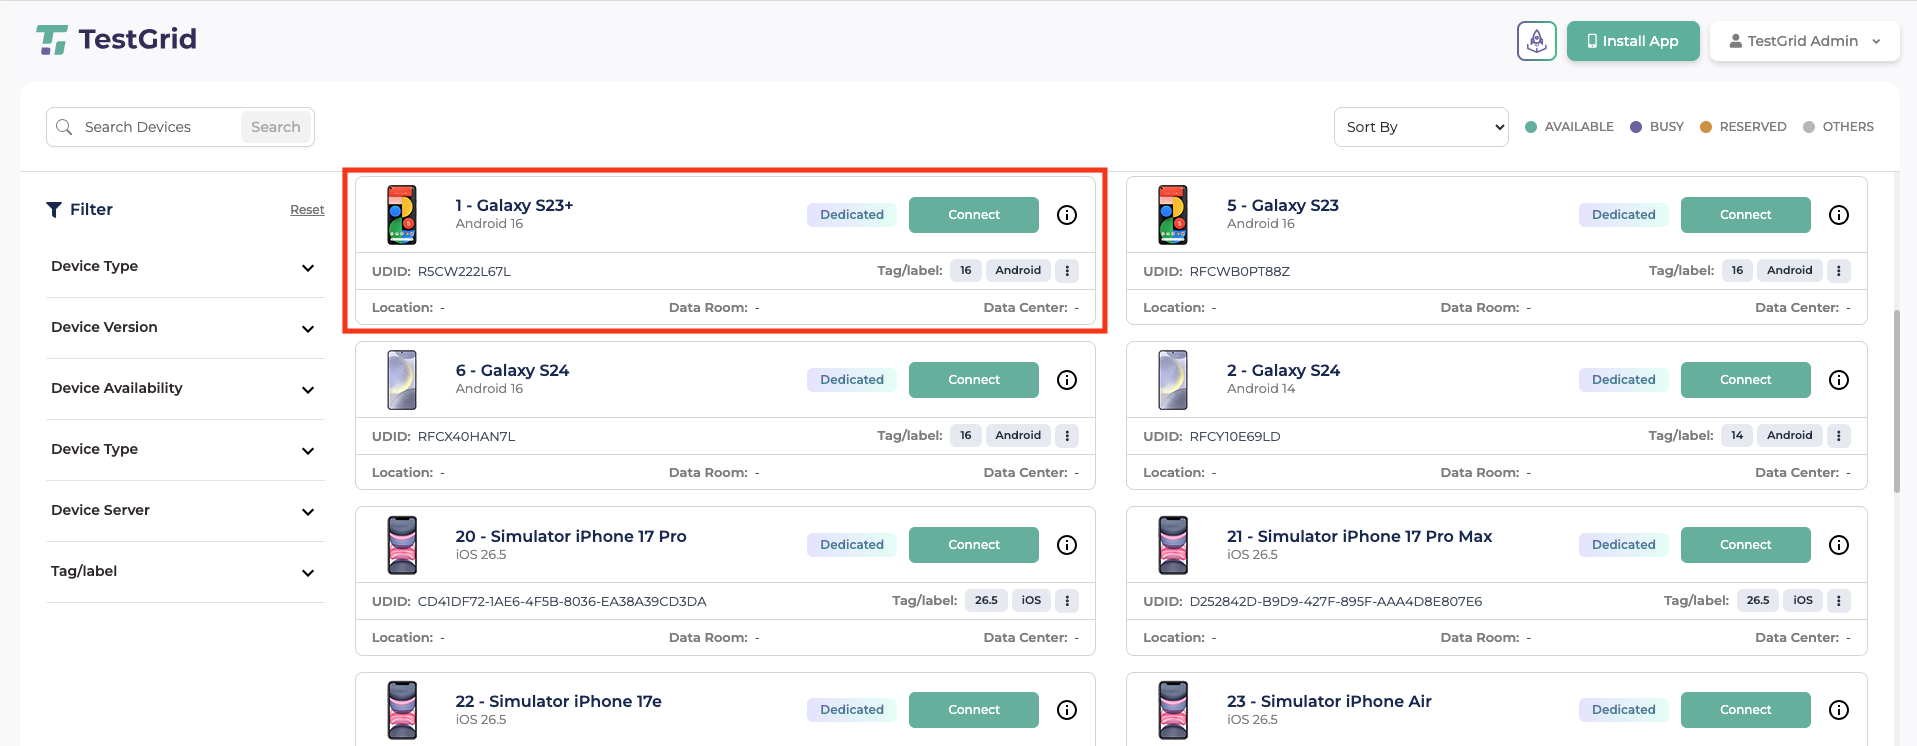
- TestGrid will display the Appium capabilities required for local execution for the selected device.
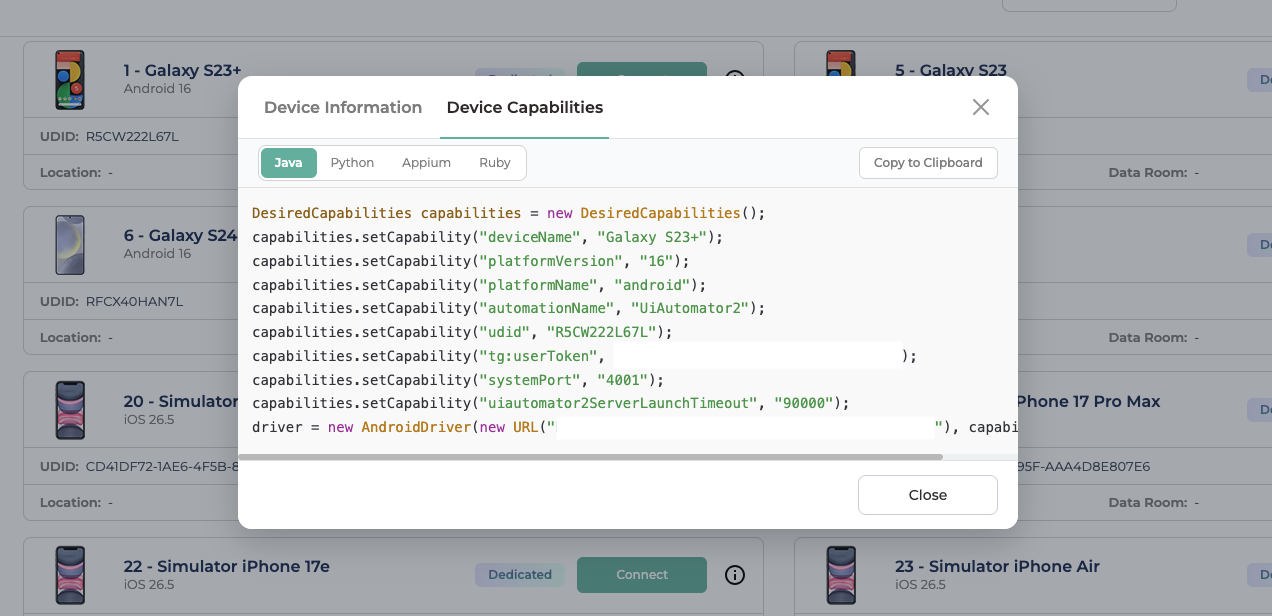
Step 3: Configure Flutter Capabilities
# For Android Configuration
When executing Flutter automation tests on Android devices:
- Change the automationName capability from UiAutomator2 to Flutter.
- Remove the uiautomator2ServerLaunchTimeout capability, if present.
{
"appium:deviceName": "Galaxy S24",
"appium:platformVersion": "14",
"appium:platformName": "Android",
"appium:automationName": "Flutter",
"appium:udid": "your-device-UDID",
"tg:userToken": "your-user-token"
}
# For iOS Configuration
When executing Flutter automation tests on iOS devices:
- Change the automationName capability from XCUITest to Flutter.
{
"appium:deviceName": "iPhone 14",
"appium:platformVersion": "26.2.1",
"appium:platformName": "iOS",
"appium:automationName": "Flutter",
"appium:udid": "your-device-UDID",
"tg:userToken": "your-user-token"
}
Note: TestGrid automatically allocates and manages device-level ports (system port for Android, WDA port for iOS) per session. You do not need to pass appium:systemPort or appium:wdaLocalPort These capabilities apply to the UiAutomator2 and XCUITest drivers, not to Flutter automation. Only the capabilities shown above are required.
Step 4: Steps to execute local Appium code and get results on the dashboard.
- Sample code
package org.example;

import io.appium.java_client.android.AndroidDriver;
import io.appium.java_client.MobileElement;
import org.openqa.selenium.remote.DesiredCapabilities;

import java.net.URL;
import java.net.MalformedURLException;
import java.util.concurrent.TimeUnit;

public class AndroidFlutterDemo {

    private static AndroidDriver<MobileElement> driver;

    public static AndroidDriver<MobileElement> initializeDriver() throws MalformedURLException {

        DesiredCapabilities capabilities = new DesiredCapabilities();
        capabilities.setCapability("appium:deviceName", "Galaxy S24");
        capabilities.setCapability("appium:platformVersion", "14");
        capabilities.setCapability("appium:platformName", "Android");
        capabilities.setCapability("appium:automationName", "Flutter");
        capabilities.setCapability("appium:udid", "your-device-UDID");
        capabilities.setCapability("tg:userToken", "your-user-token");

        // capabilities.setCapability("appium:noReset", true);
        // capabilities.setCapability("appium:fullReset", false);

        driver = new AndroidDriver<>(new URL("https://your-domain.testgrid.io/appium_{port}/wd/hub"), capabilities);
        driver.manage().timeouts().implicitlyWait(30, TimeUnit.SECONDS);
        return driver;
    }

    public static void main(String[] args) throws Exception {
        try {
            driver = initializeDriver();
            // Your Flutter test steps go here
            System.out.println(driver.getPageSource());
        } finally {
            if (driver != null) {
                driver.quit();
            }
        }
    }
}