Parallel Execution on Multiple Devices
Parallel testing is a method of leveraging automation testing capabilities by allowing the execution of the same tests in multiple environments, real device combinations, and browser configurations at the same time. Parallel testing’s overarching goal is to reduce time and resource constraints.
With the TestGrid Automation Testing Tool, you get parallel testing, which enables you to test multiple test scenarios on multiple devices simultaneously; this saves a lot of time and resources.
How to execute test cases on multiple devices simultaneously in TestGrid?
Prerequisites
- Login credentials.
Steps for Parallel Execution on Mobile Devices
Follow the steps below to execute the test cases on multiple devices simultaneously:
Step 1: Log in to your TestGrid account with valid credentials.
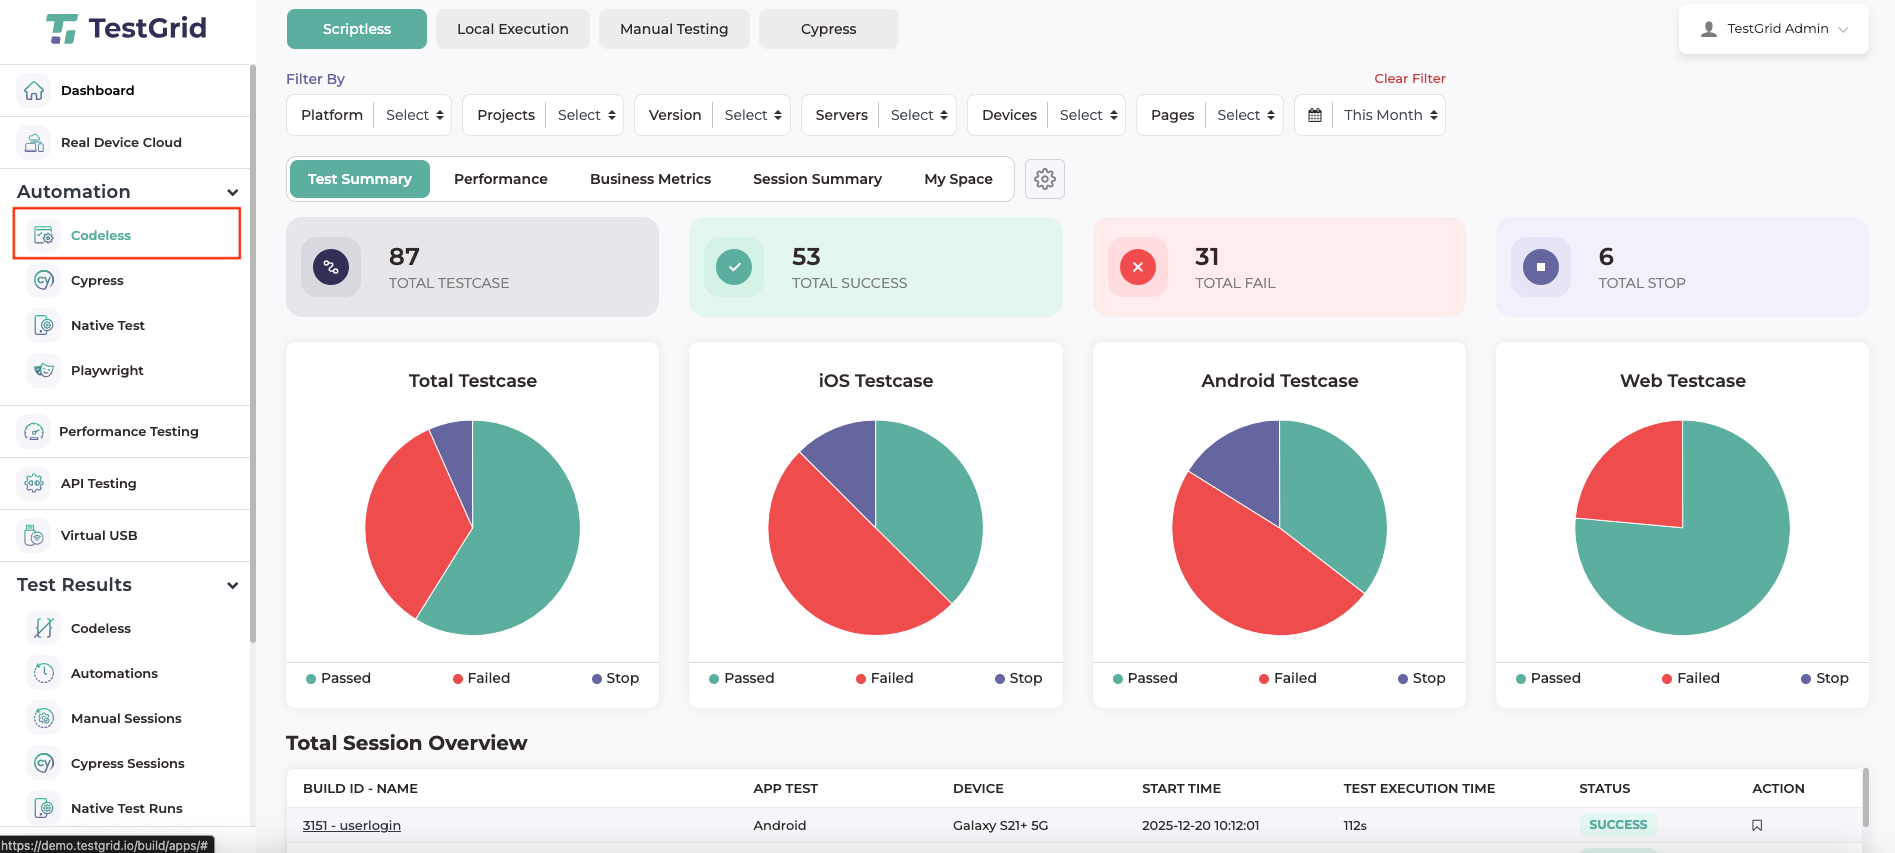
- Once logged in, navigate to codeless section

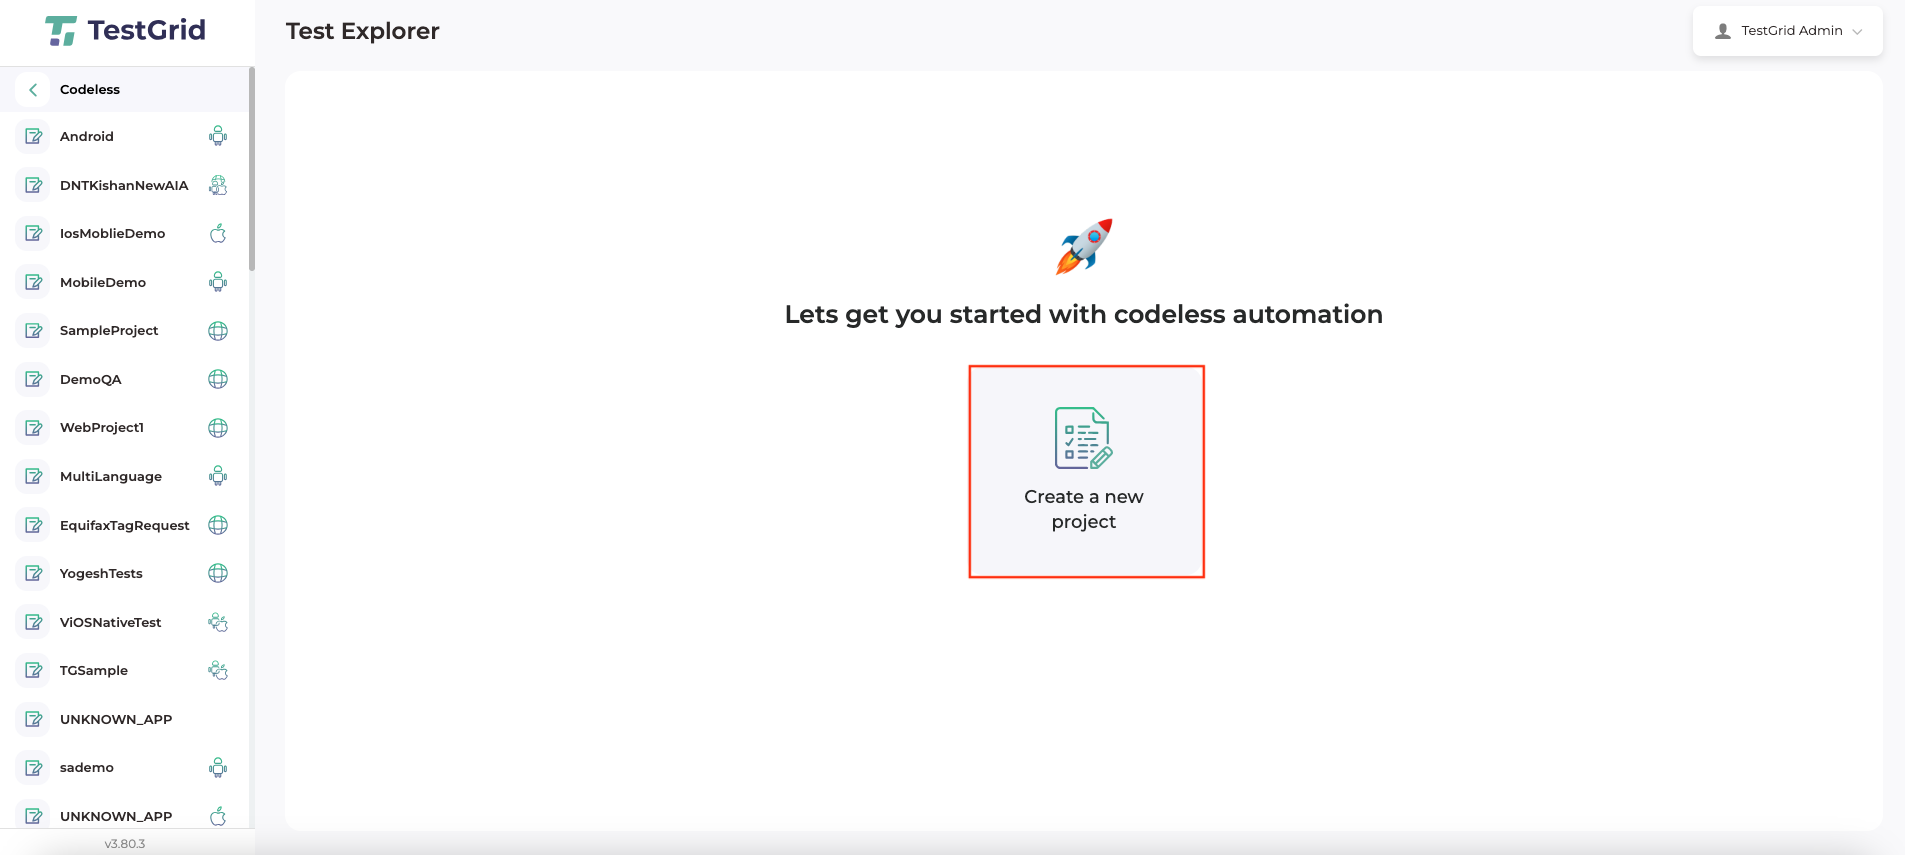
- Create a new project by clicking on the “Create a new project” as highlighted in the below screenshot.

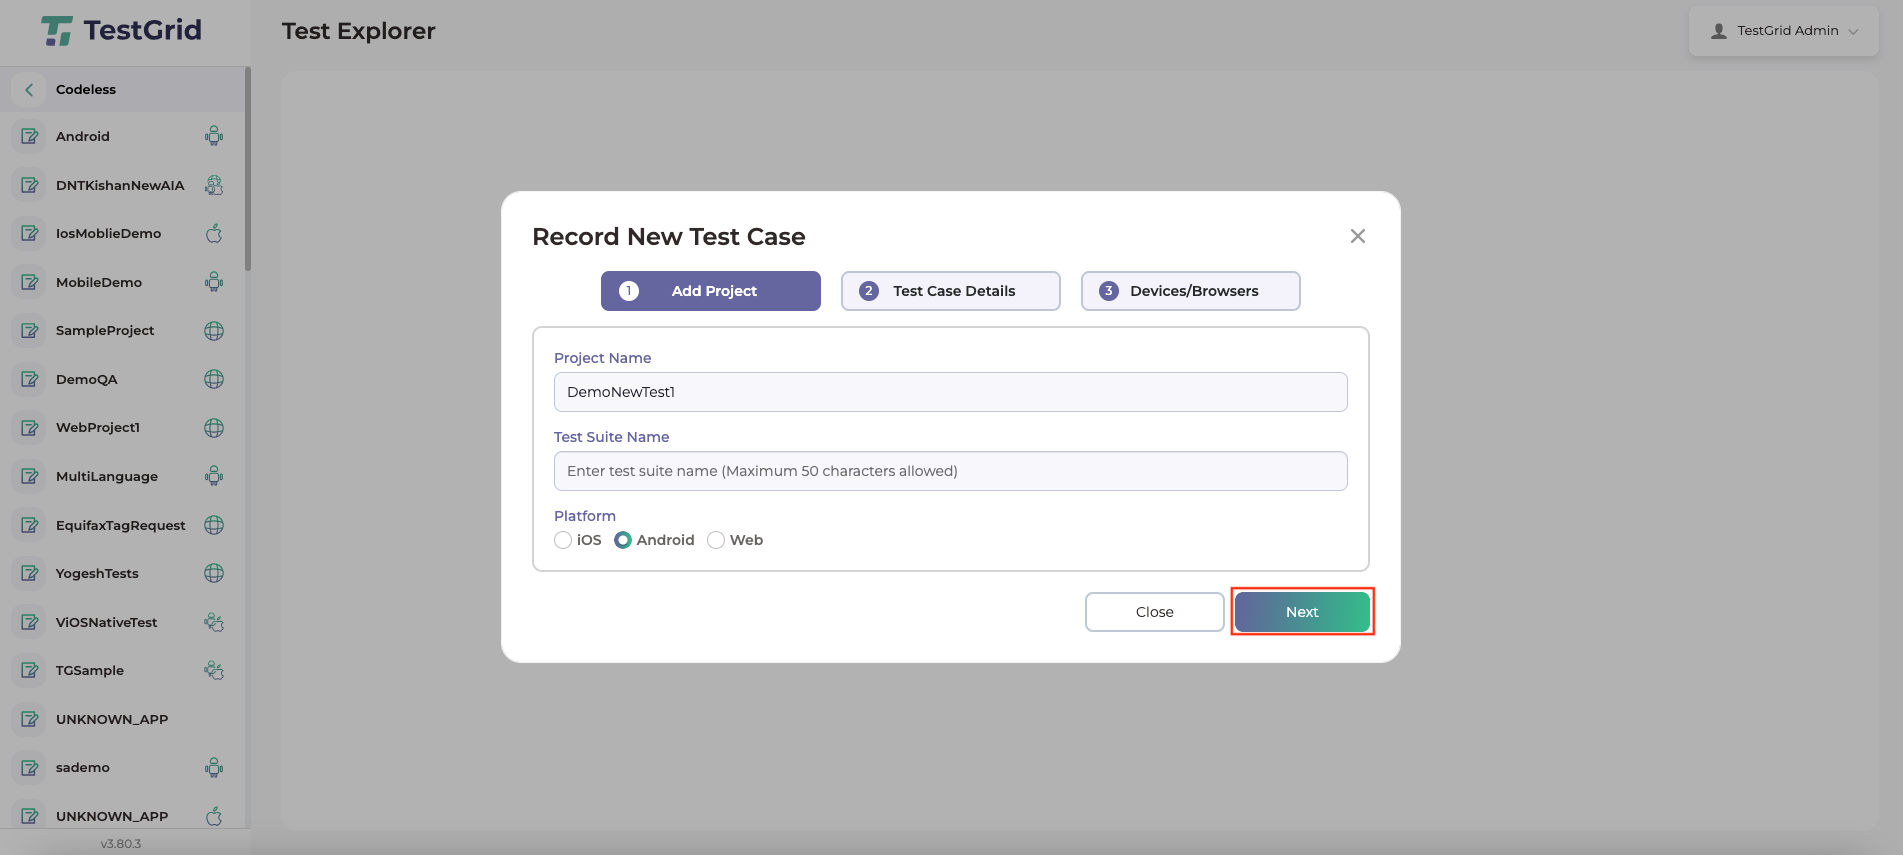
- Provide the name for the new project that is to be created. Select the specific platform for which the test cases are to be created, like iOS, Android or Web. Finally click on the “Next” button.

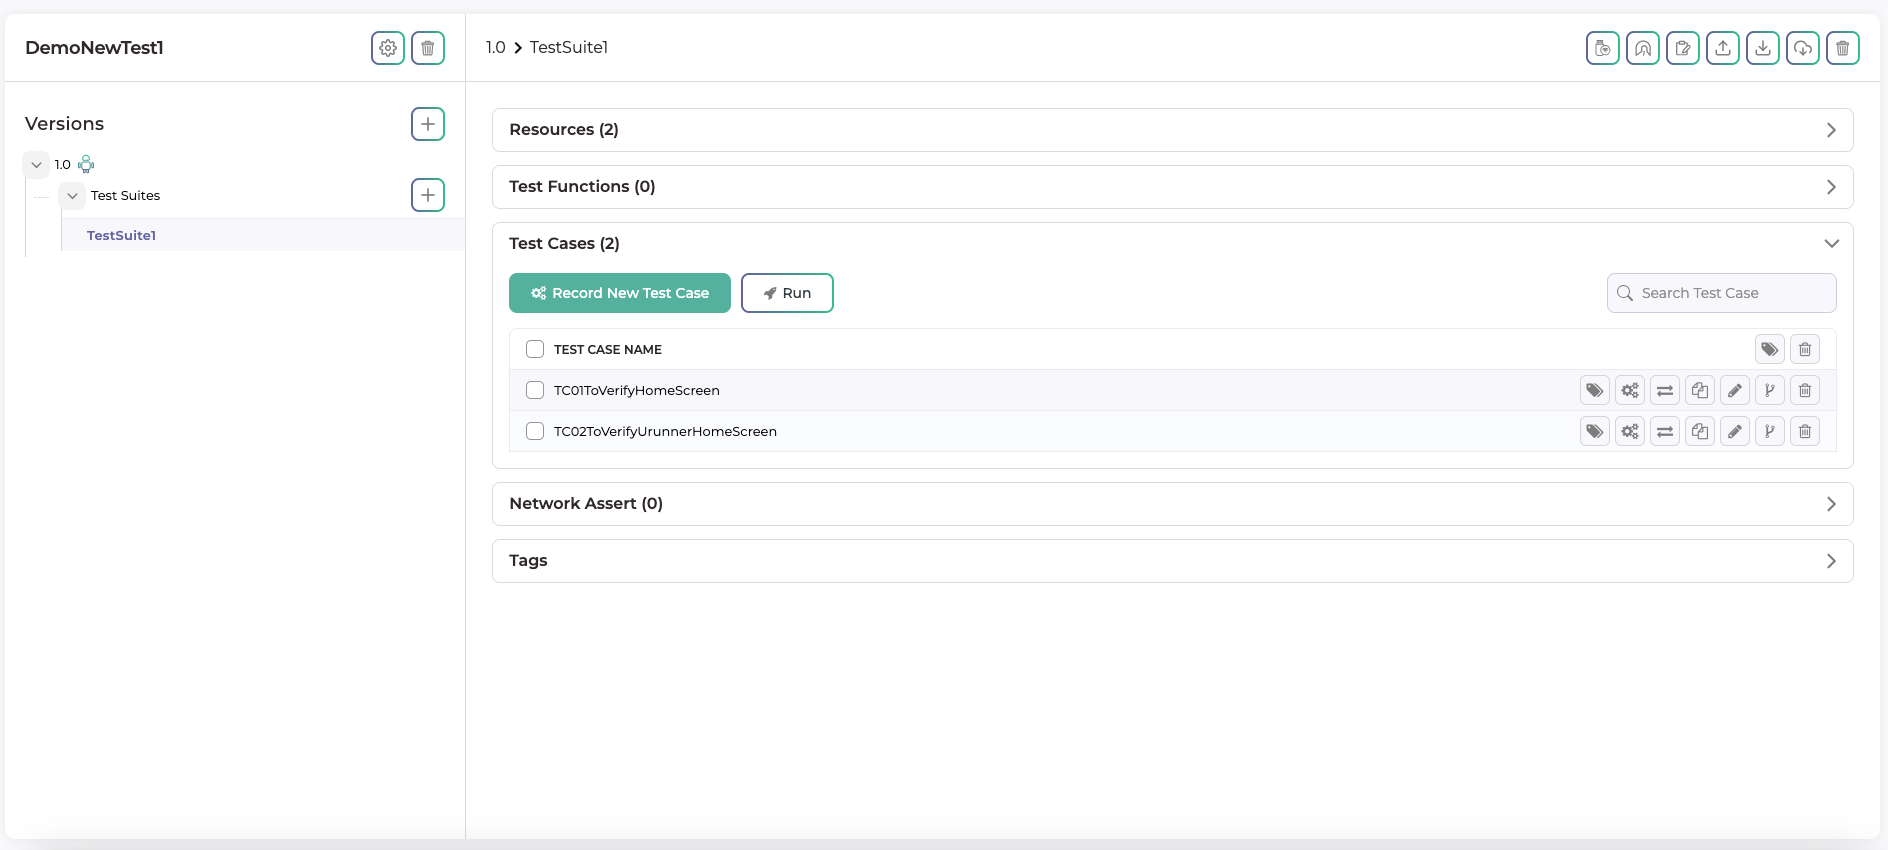
Step 2. Once the project is created, navigate to the specific project.

- Now the project will be visible along with the created test cases listed in the project.
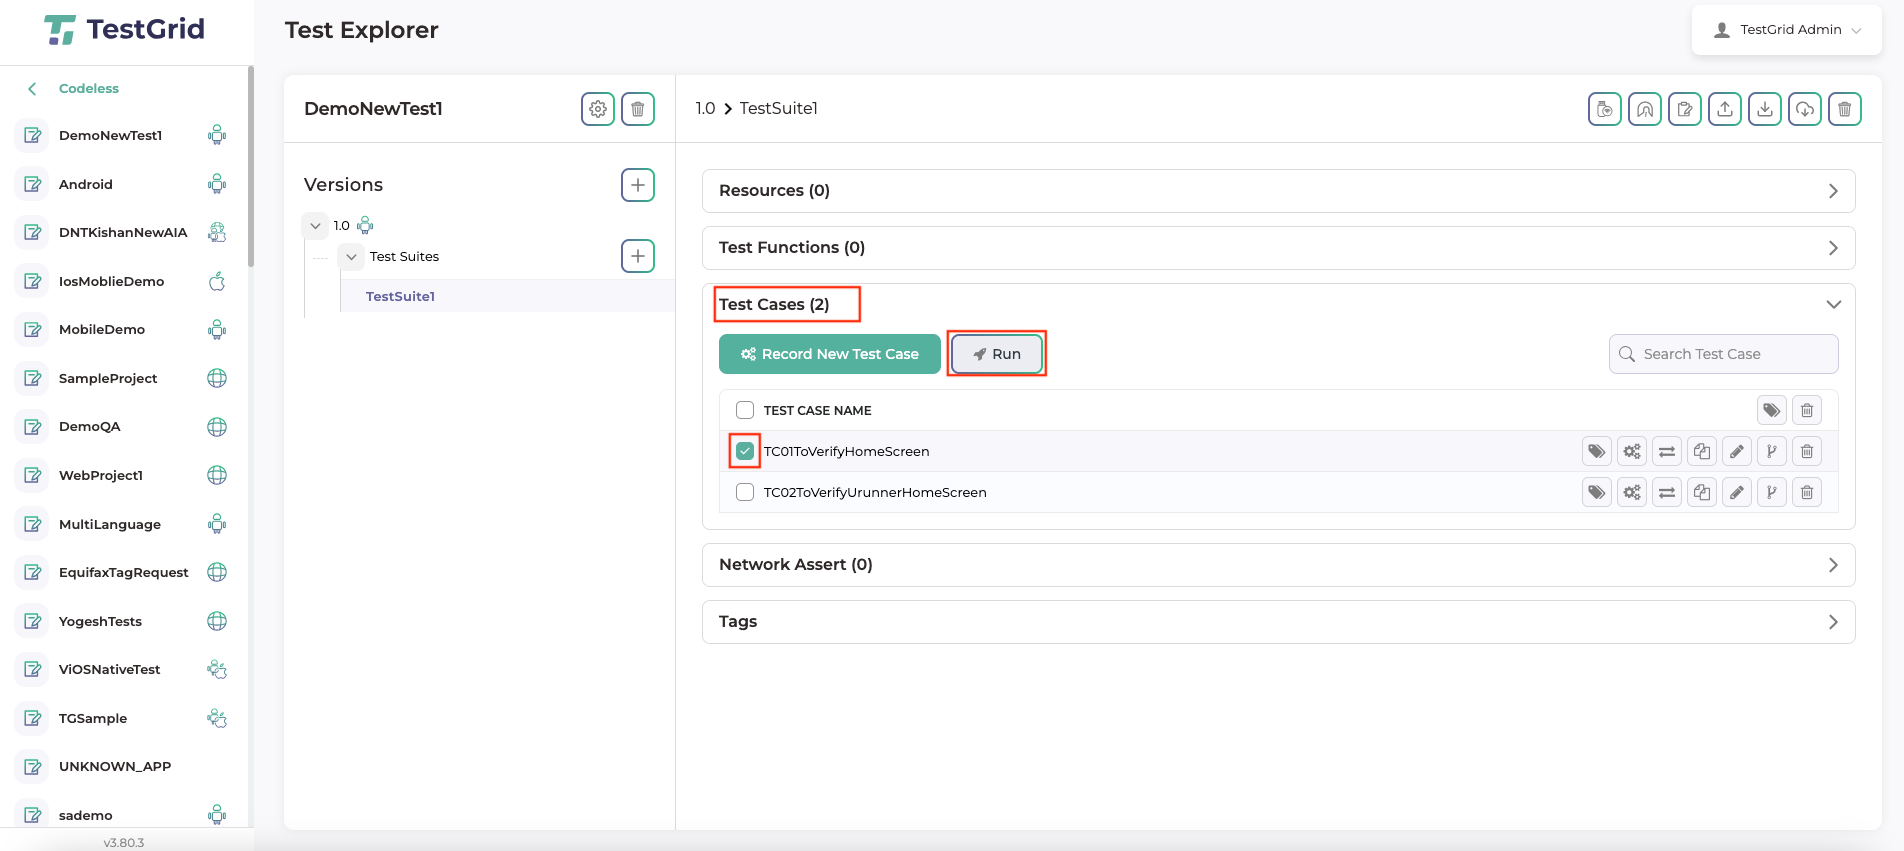
Step 3. Select the test case for execution, then click the Run button as highlighted below.
Step 4. Provide an app bundle ID or upload an APK or IPA.
- The Upload Build window appears once you click the Run button.
- Click on the upload build button and upload the specific build for which test case is to be created.
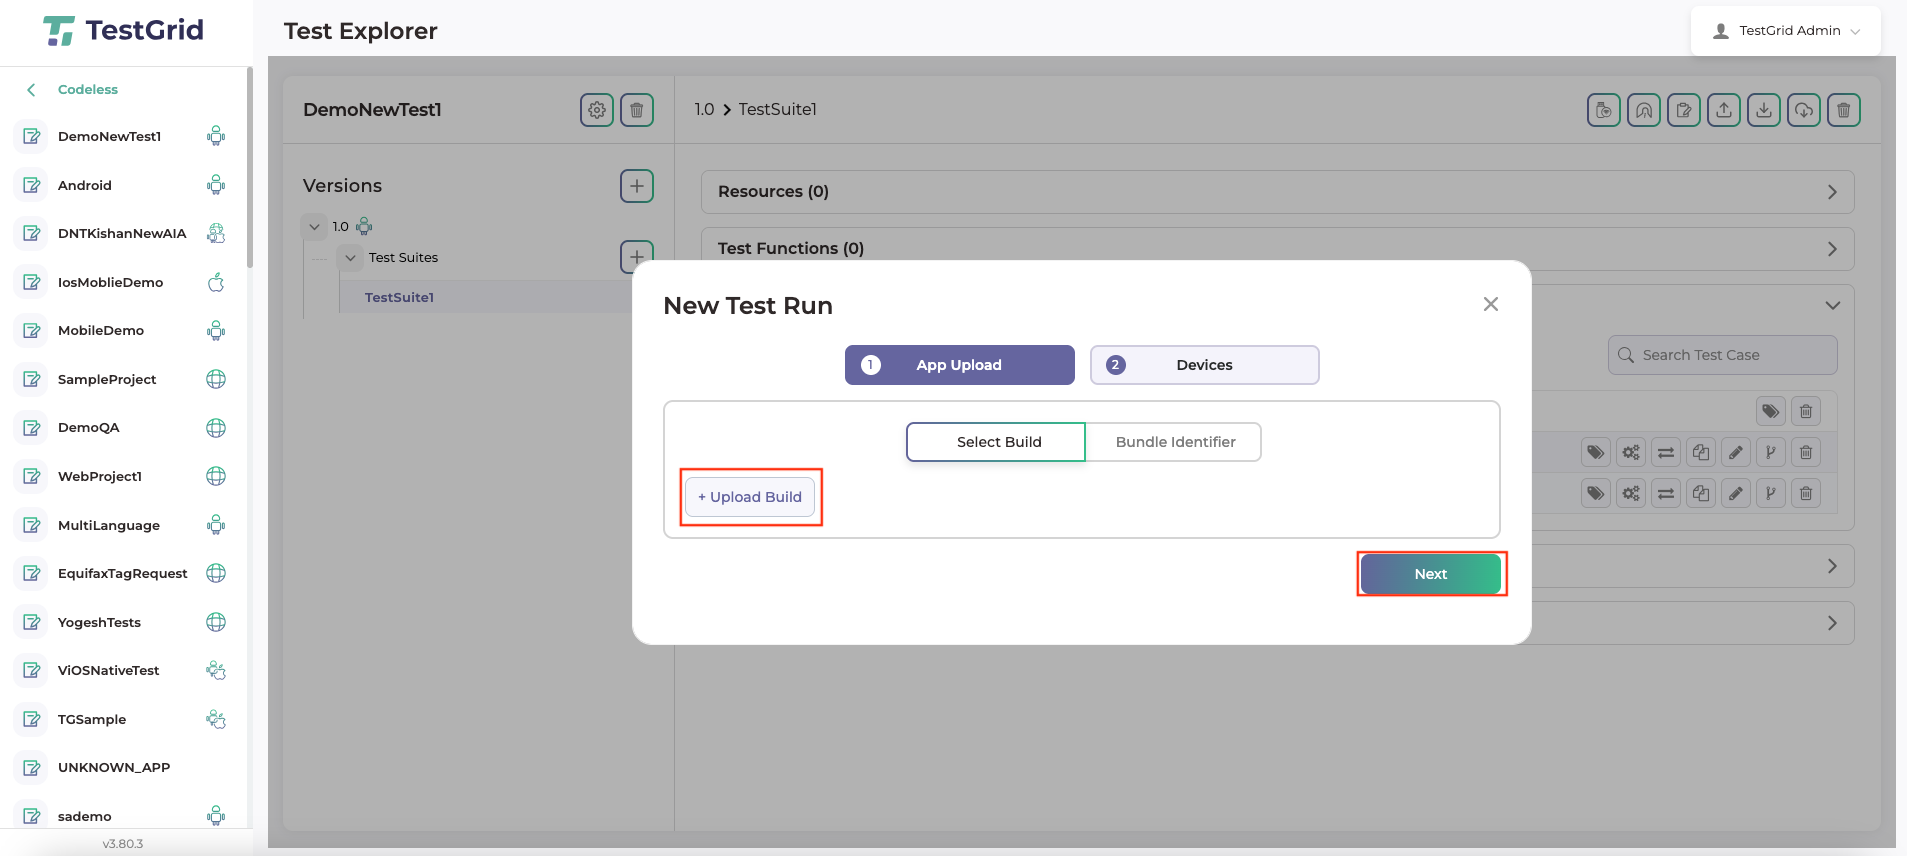
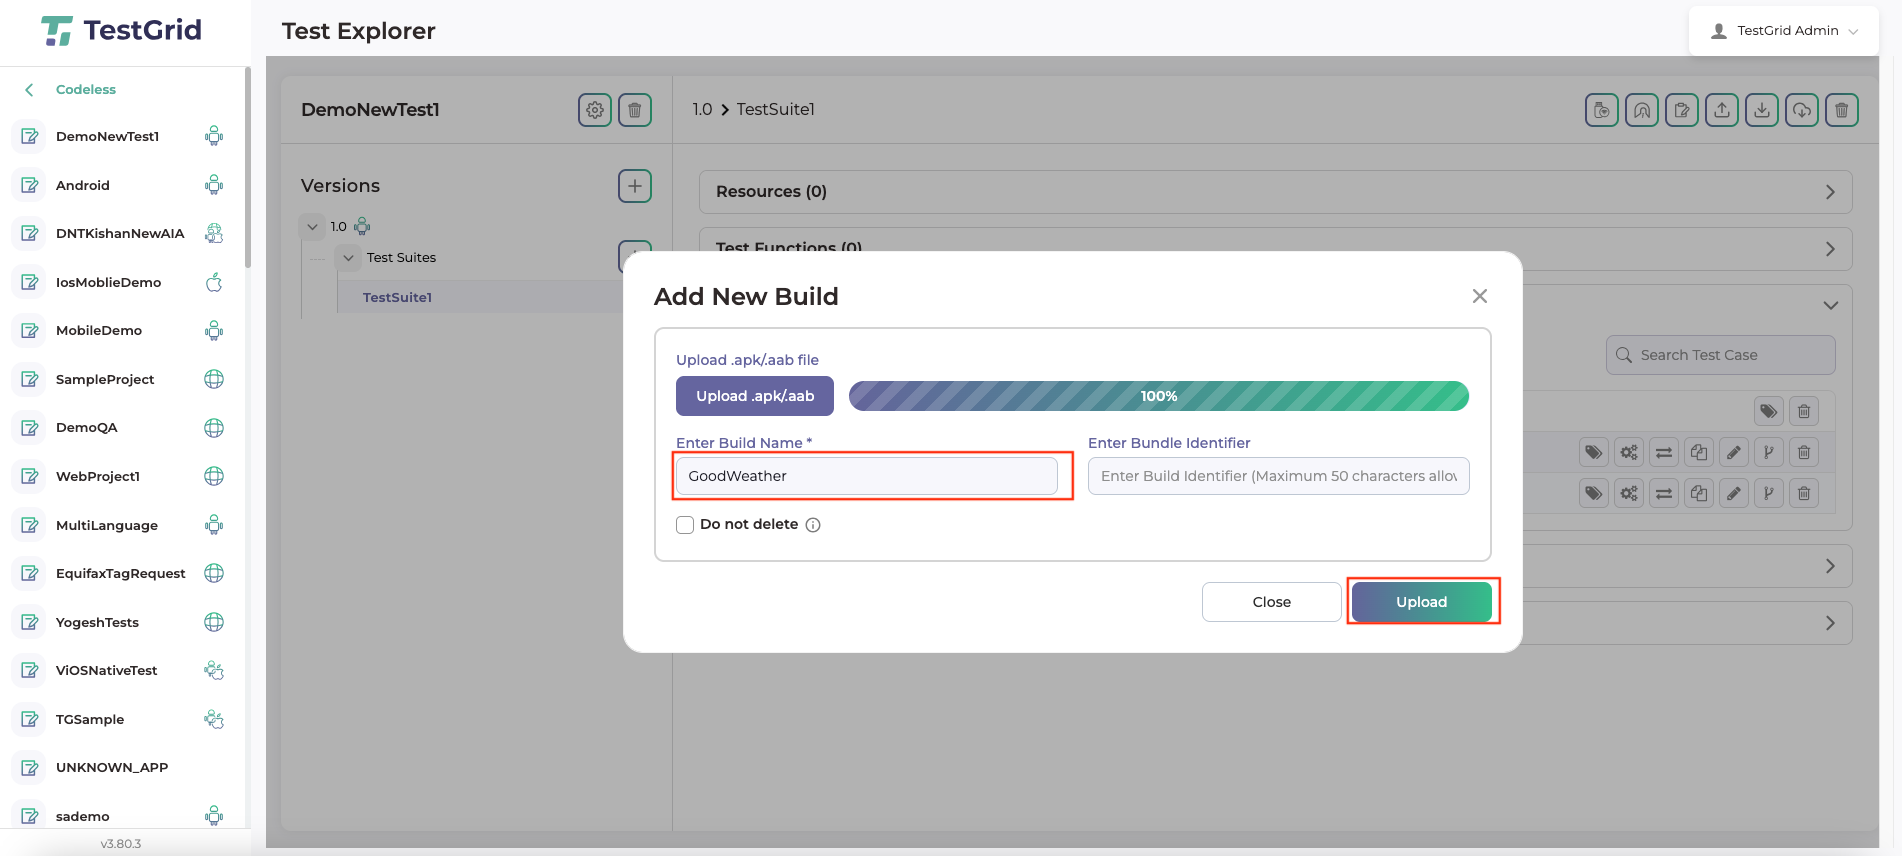
- After clicking the next button, the Add New Build box will display, where you can upload your build and enter a name for it in the highlighted field.
- Then click on the upload button.
Step 5: Select multiple devices of your choice and click on “Run Test.”
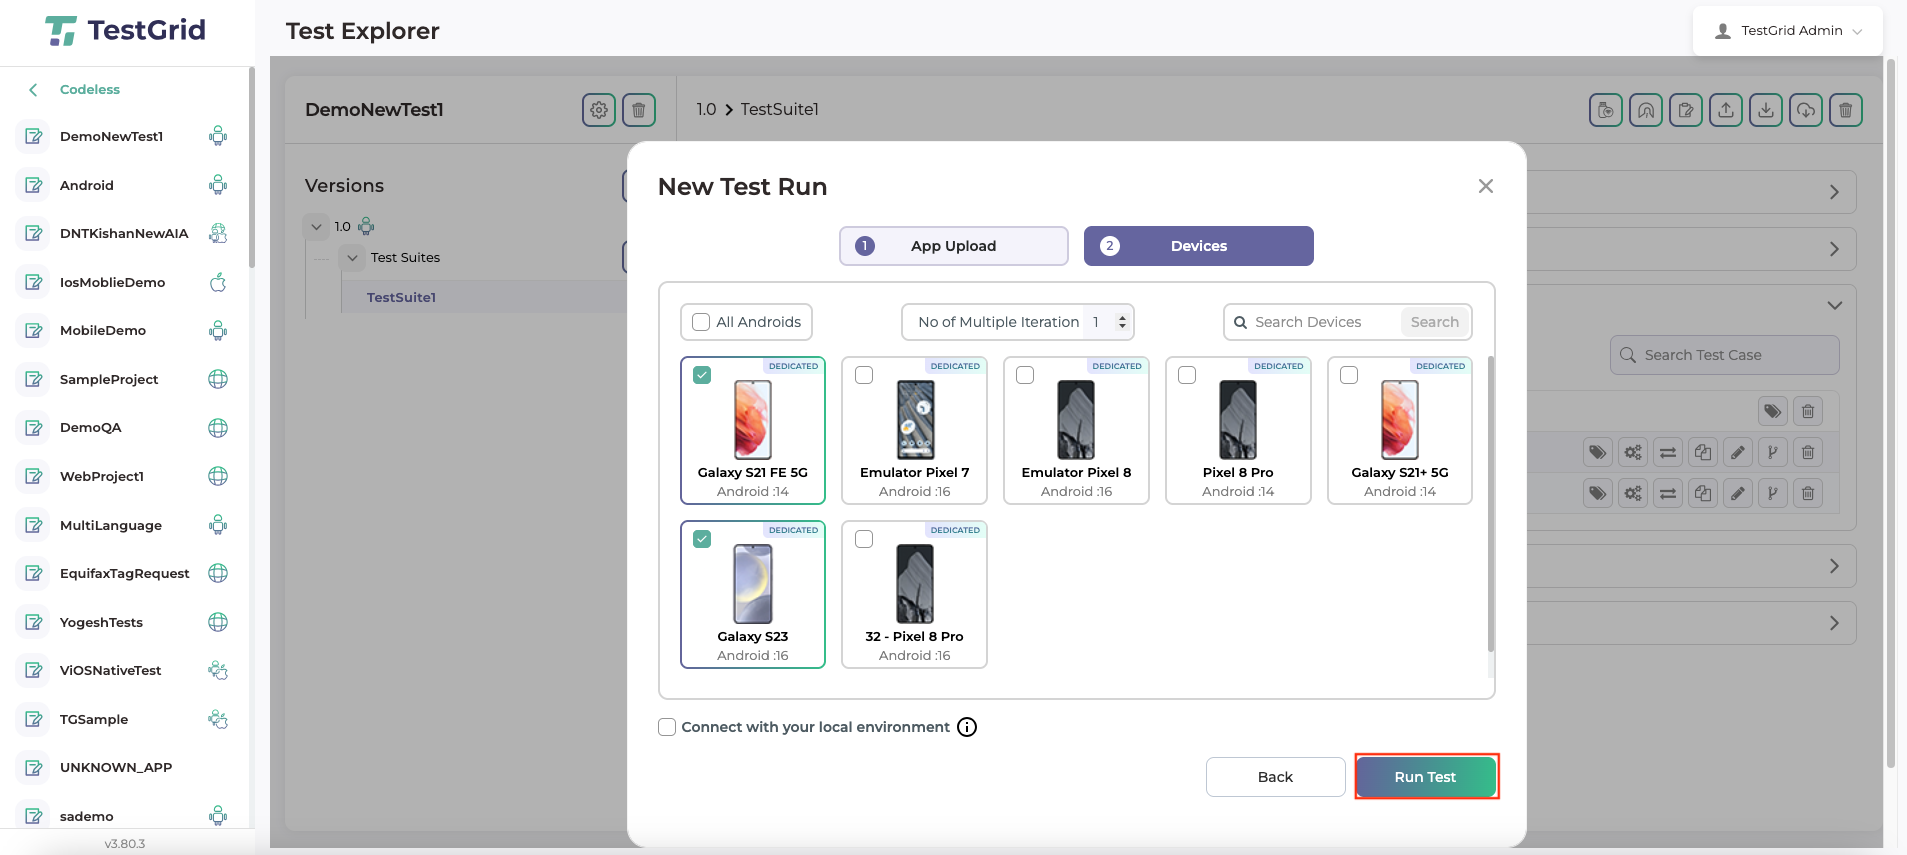
It will begin compiling and merging elements with the selected test cases in order to generate a compiler file.
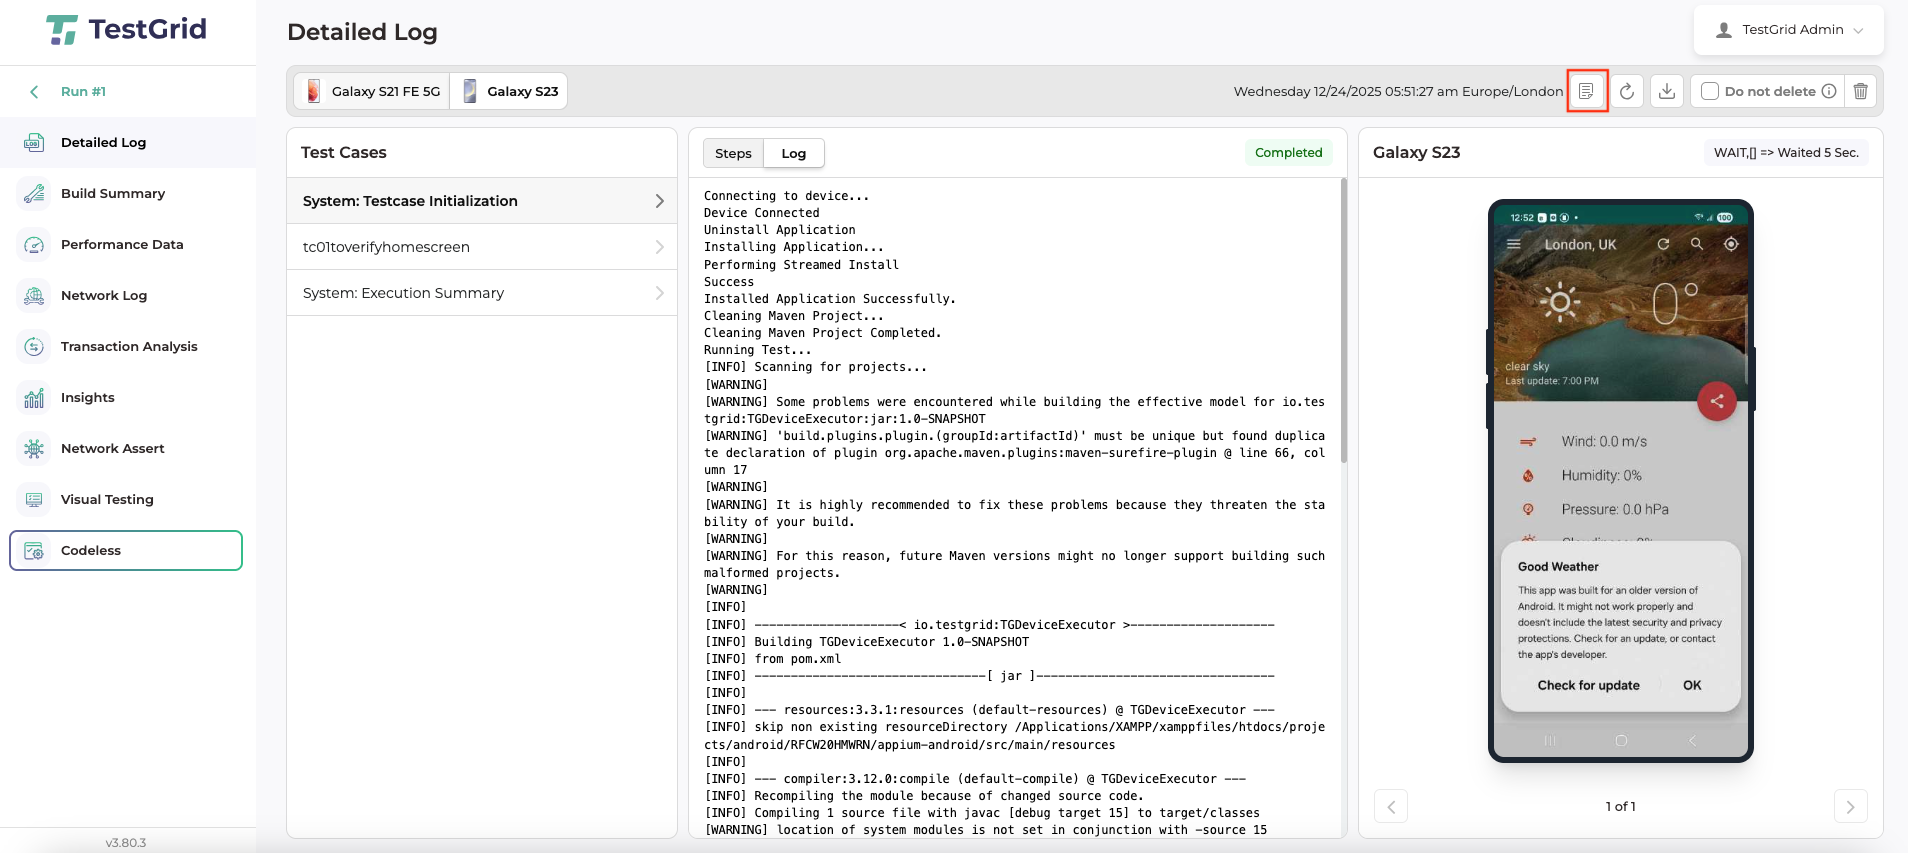
Step 6: View results
You can view the selected test cases, logs, and results of the executed test cases on the chosen device tabs.
You can switch to each device easily to see the result.
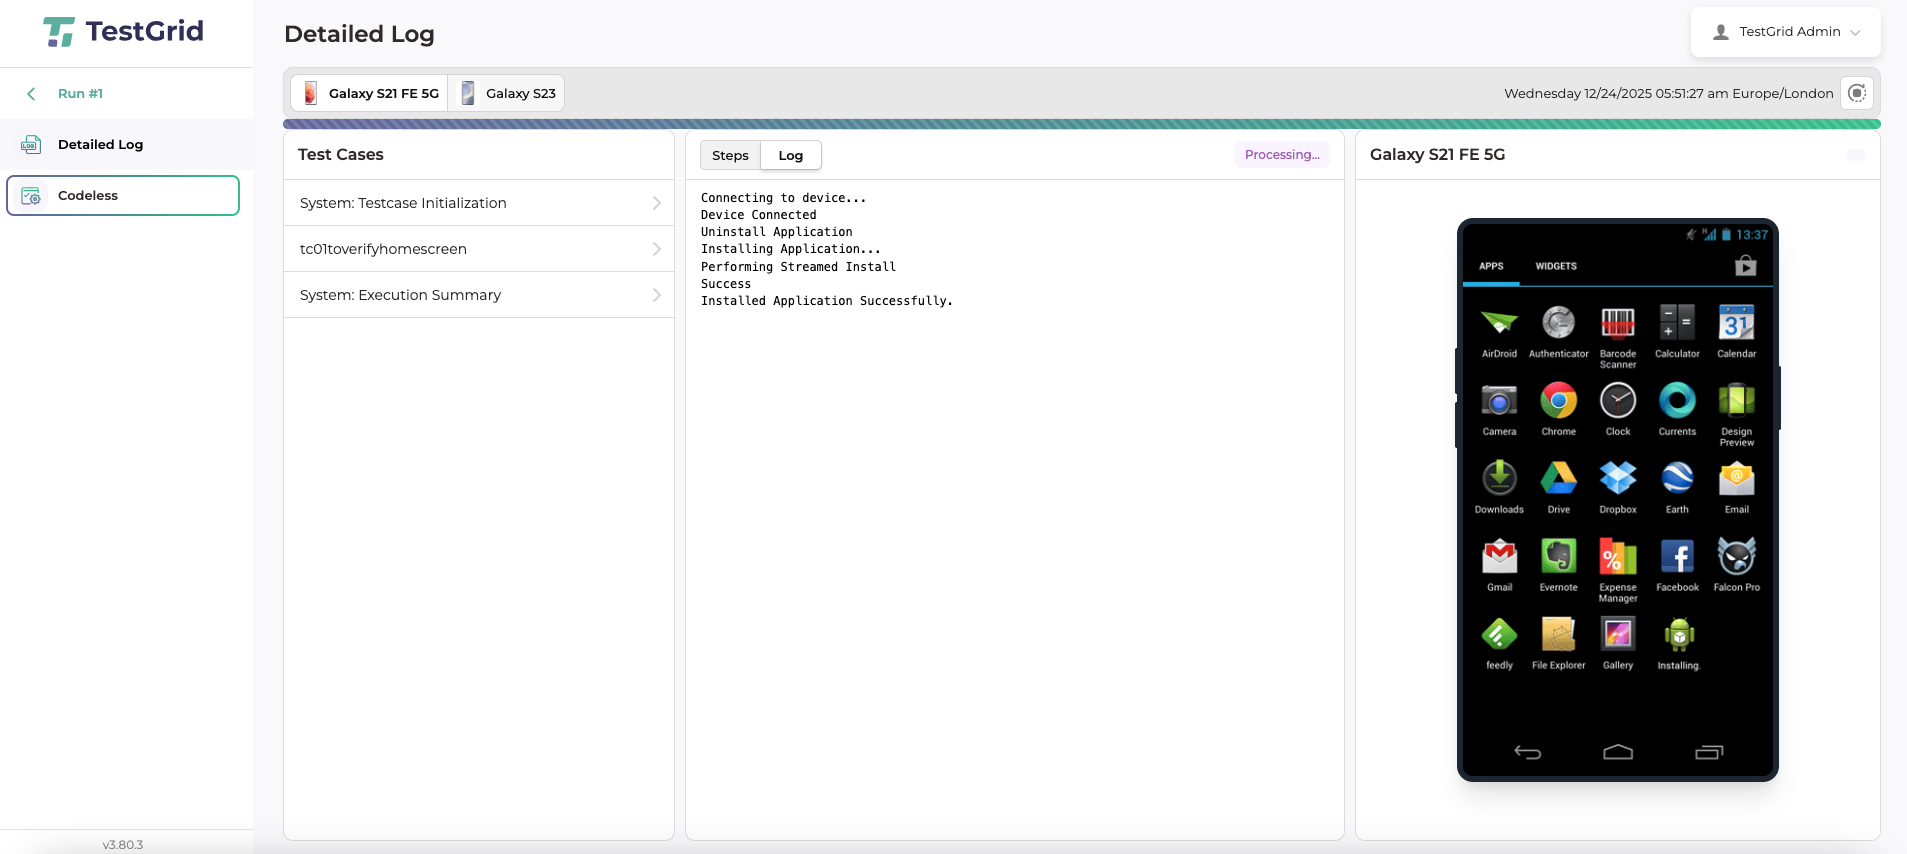
- The processing of test case execution starts.
-
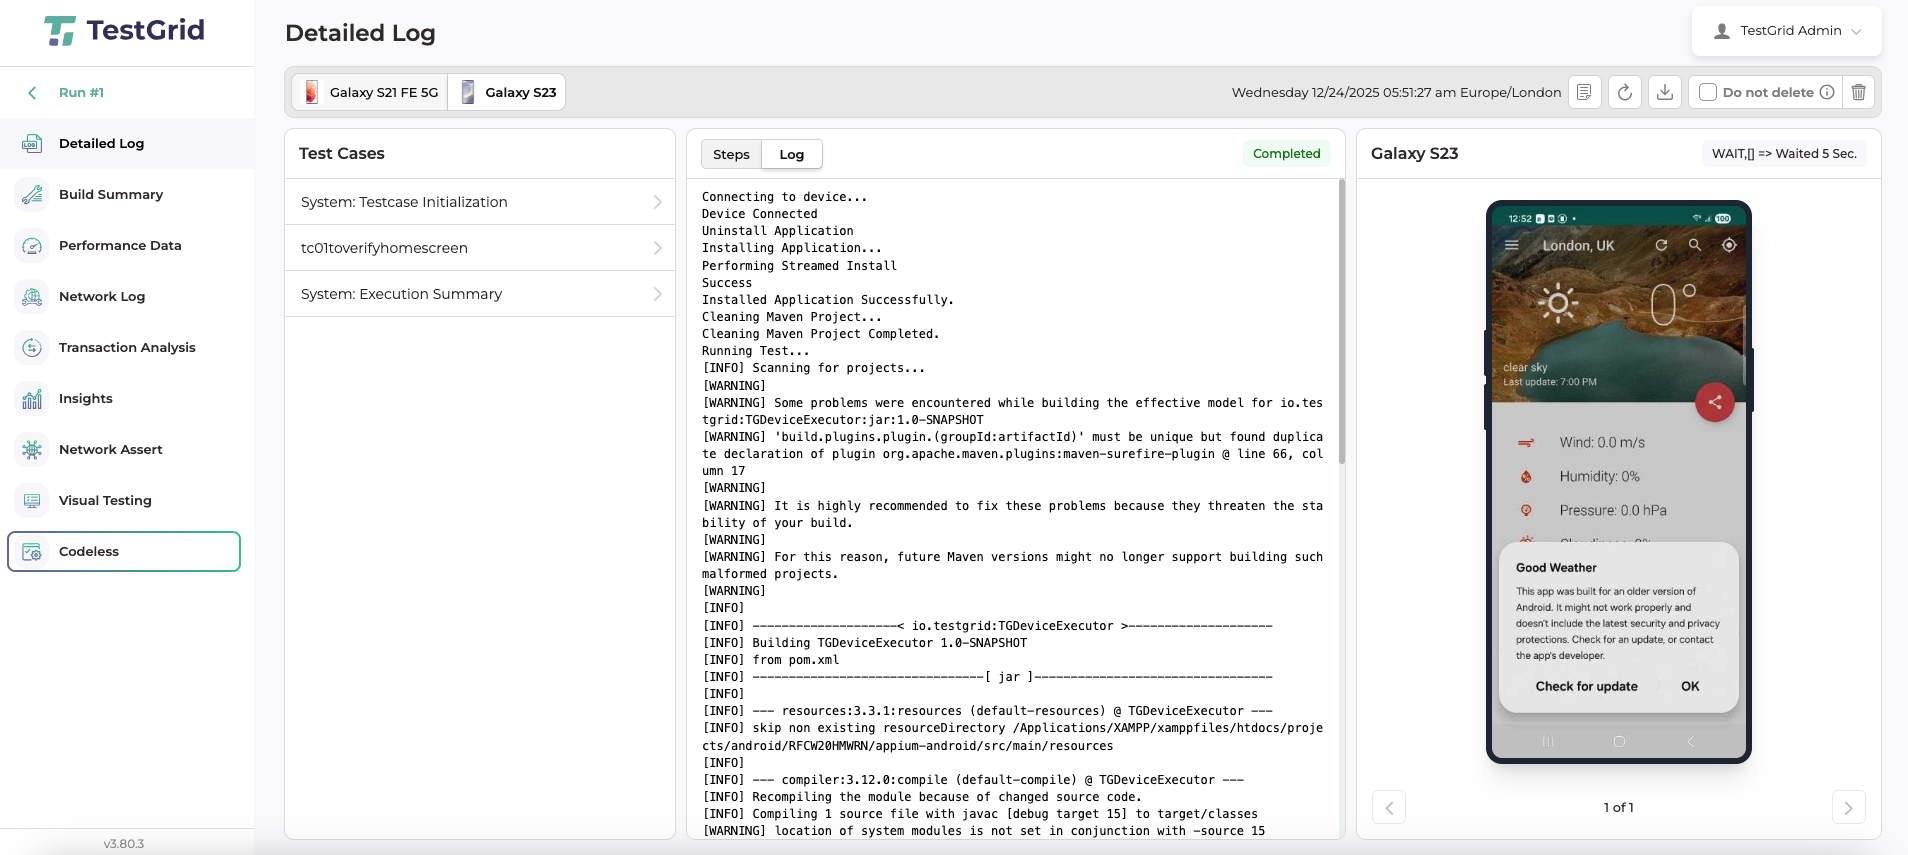
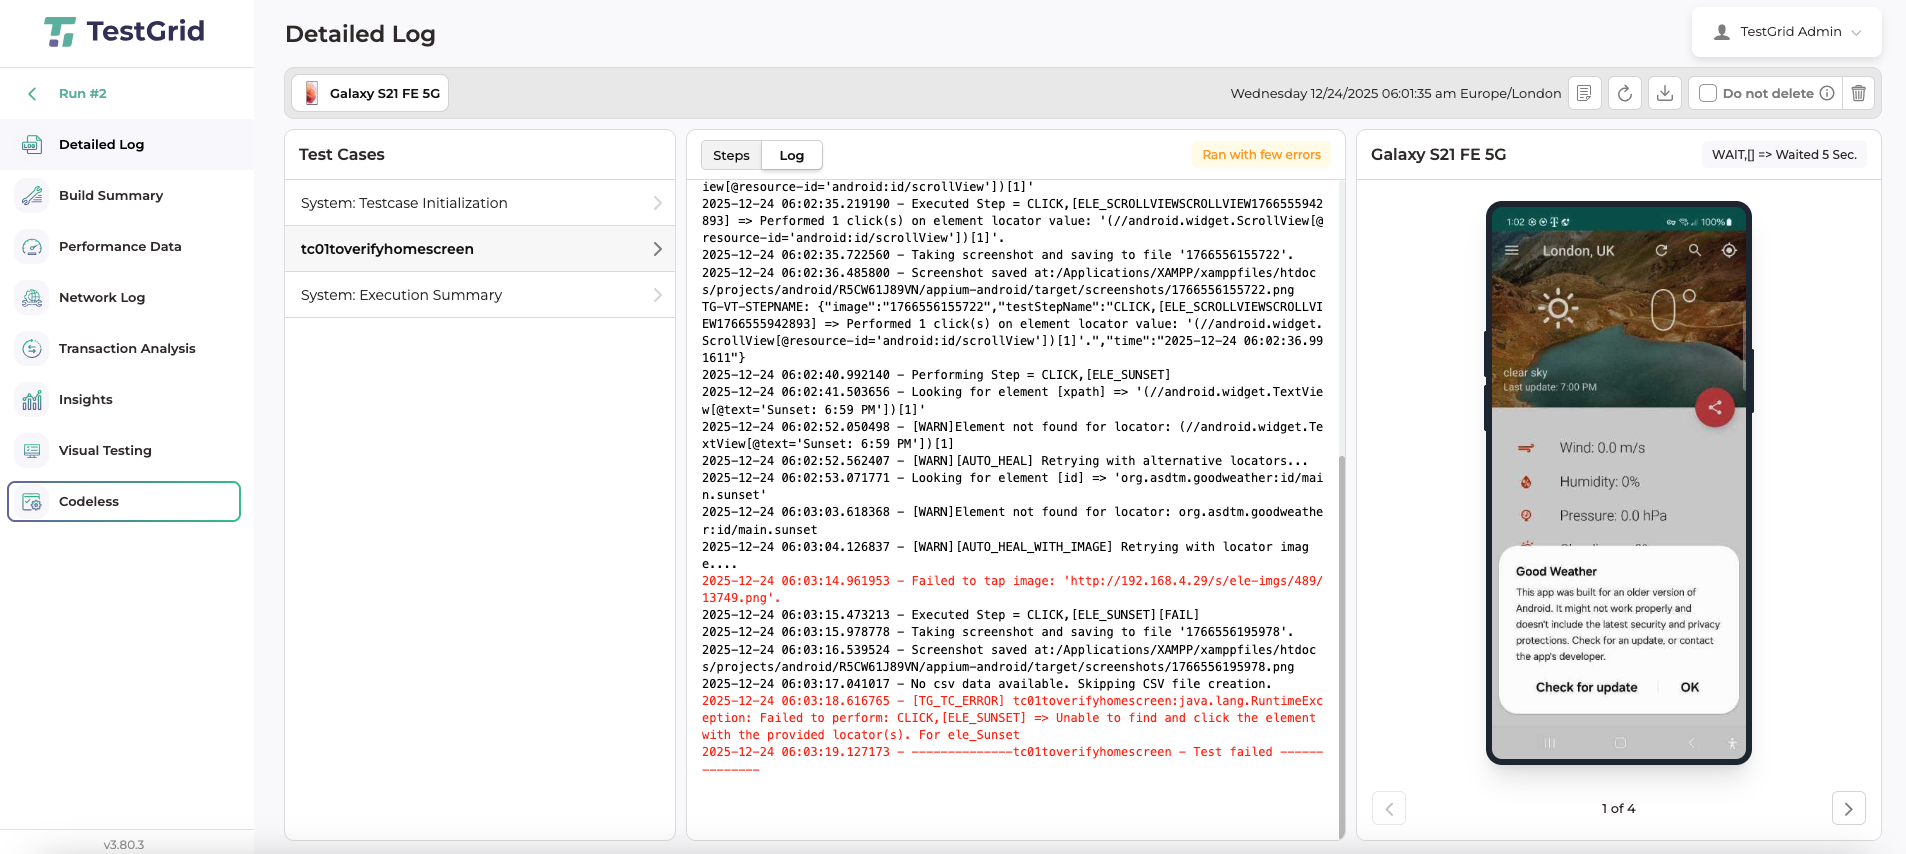
If a test case fails, the same will be reflected in Detailed Log window providing a diagnostic summary and logs detailing the possible reasons for the failure and offers specific troubleshooting suggestions to resolve the error.
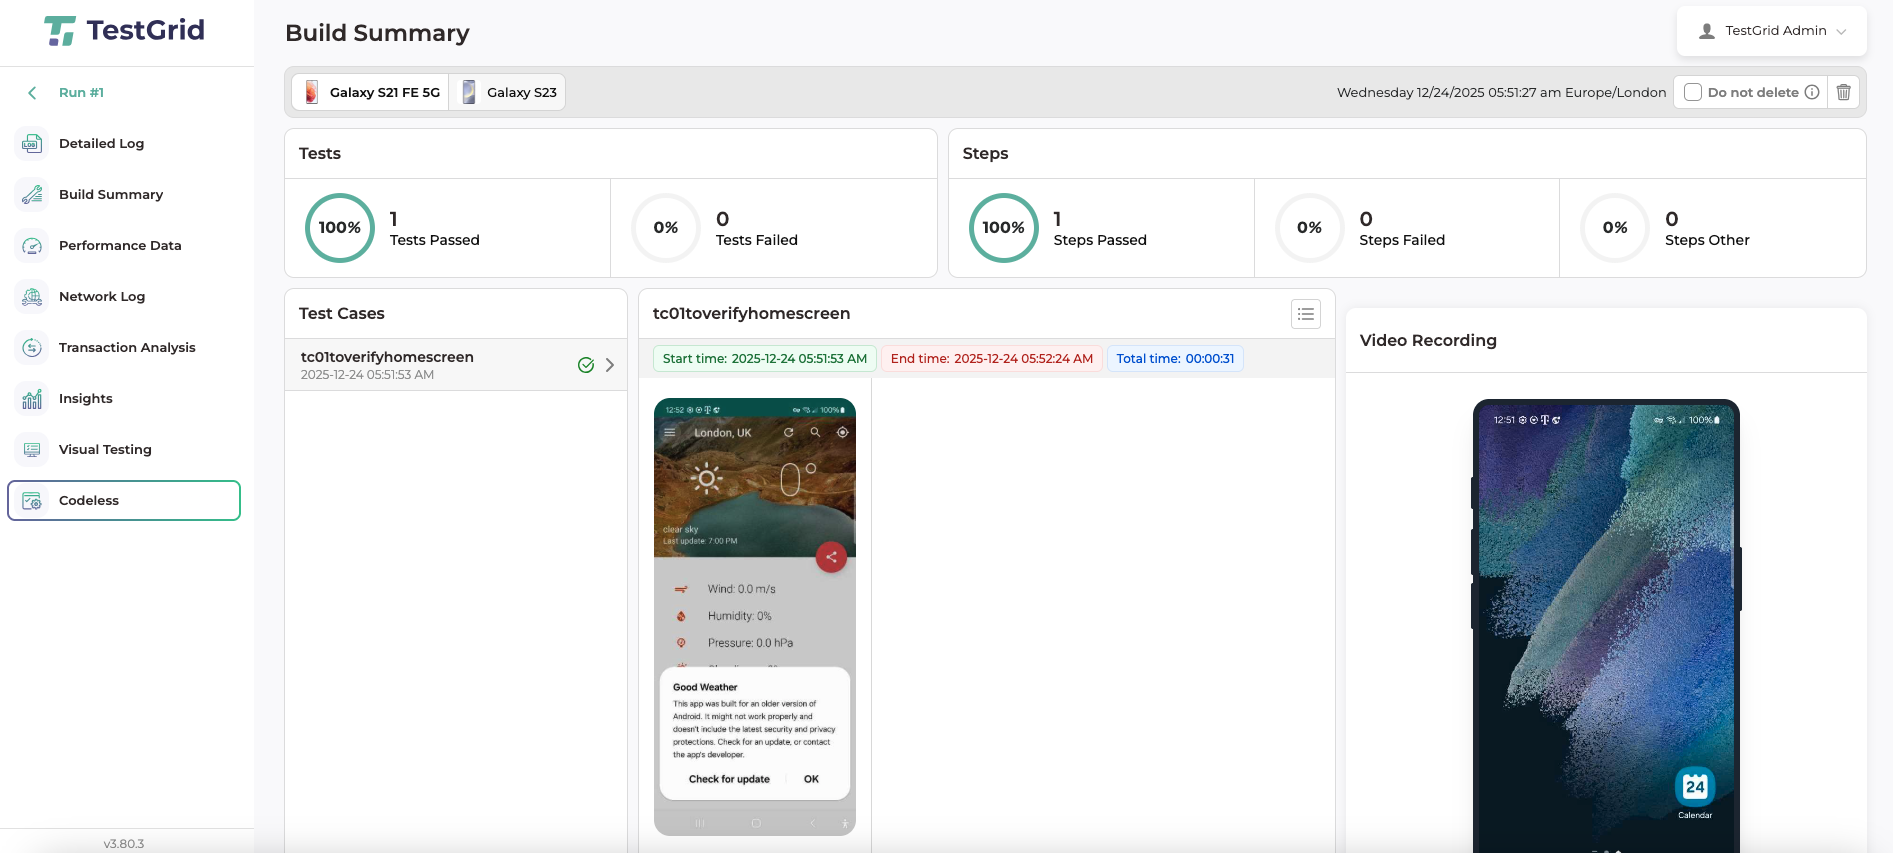
- When finished, on the left pane, click “Build Summary” to see the results of the selected device.
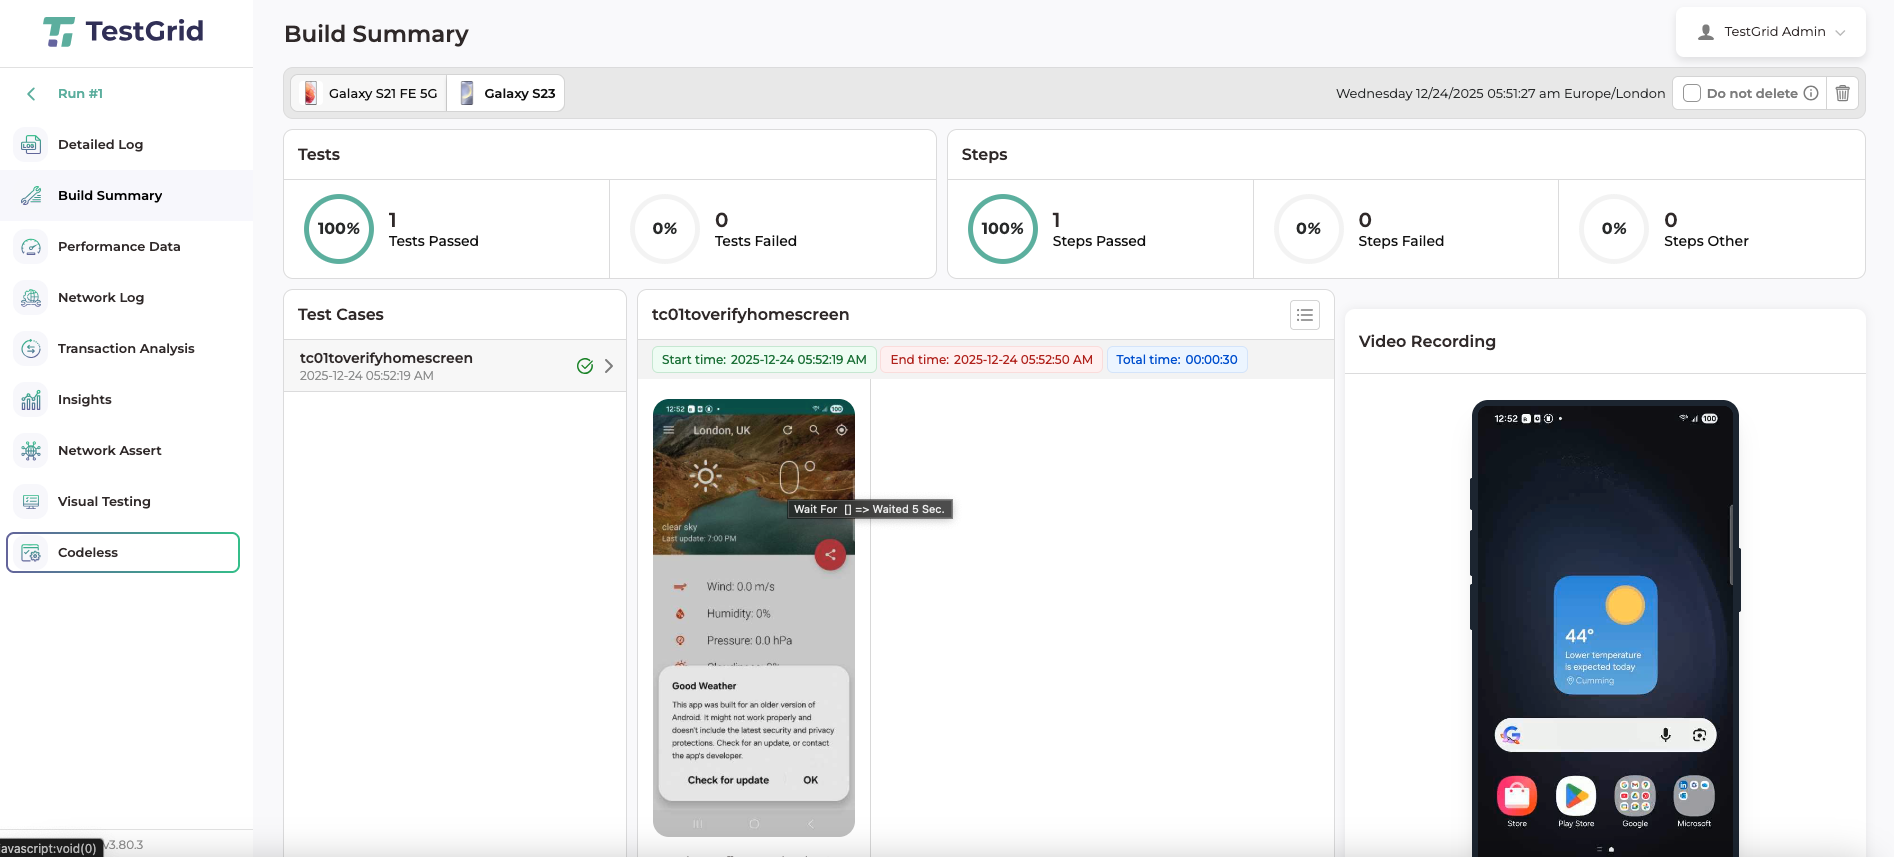
- Switch between devices to see the results for each.
You can examine the logs to determine the cause of failed test cases, and the reports can be downloaded by clicking the “Download” button as highlighted in the image below.